Showing posts with label Hallowedding. Show all posts

Wednesday, November 02, 2016

Hallowedding

For anyone that reads this blog regularly you all know that my daughter got married last weekend.  She is a VERY unconventional woman and did this entire thing her way.  
Did her parents always agree with her choices? 
No we did not, but we were there to support her every step of the way.

Most of my time in the past month has been dedicated to wedding prep.  
I am still working on the Hallowedding quilt but 
have not had a spare minute to do one more thing this past week. 
 I will, however, share some wedding photos. 
 I did not take many pictures so that I could be in the moment. 
 We had a professional photographer so there will be family photos from that session.  
I will share a few I did manage to take with my phone though.

The weekend started with us prepping the reception hall. 
 Eric's mom, sister, nephew, my other daughter and I did most of the hall set up. 
 Eric and his dad did a lot of unloading as did my hubby.

First up was putting up the Happy Hallowedding poster for the selfie station. 
 My friend's mom was an artist when she was alive.  
She drew the haunted house scene.  My friend put in the lettering and the costumed raven.


Directly across from the selfie station were things to wear, just in case you didn't dress up. 
 There were all kinds of glowing toys too for the kids. (and the adults)


This is what the hall looked like once we had the tables all decorated.


Since there was no wedding party we just gave the bride and groom their own table.


Eric's mom and sister did a fantastic job with the Trick-Or-Treating station!


I made this weird veggie skeleton.  
I also made a cheeseball that looked like a spider but apparently I did not take a photo of that!


Even though my daughter asked me not to make a bouquet I could not resist!  
The Hydrangea's came from Eric's grandmother's garden and the Allium from my friend's garden.  
I spray painted and glittered them, then Kelsey and I used the purple ribbon to wrap the stems.


I did receive a frantic phone call about an hour before we were supposed to leave saying Eric needed an orange pocket square for his suit and could I make him one. 
 So I took a photo of several oranges and she chose this one 
(it has Halloween themed prints on it).


Also, in that same phone call, "we left our glasses at home can you go get them?"  
Adding an hour to our time for dollar store glasses?  
Nope.  
I had some Waterford glasses that we had given to my parents for their 50th anniversary.  
They were not exchanging rings so wanted to drink from each other's glasses at the ceremony.  
She said she wished they still had the wine they had made a few years ago to do the toast with. 
 I opened my cupboard and asked, "Oh you mean this?"  
LOL.  
I still had my bottle!  
So I packed it in my cat wine tote and brought it all with us.


This is the only photo I have of myself dressed up!  I took it in my kitchen just before we left.


Here are the bride and groom.  I really love that bouquet!


My beautiful daughter!


The teeny, tiny chapel.
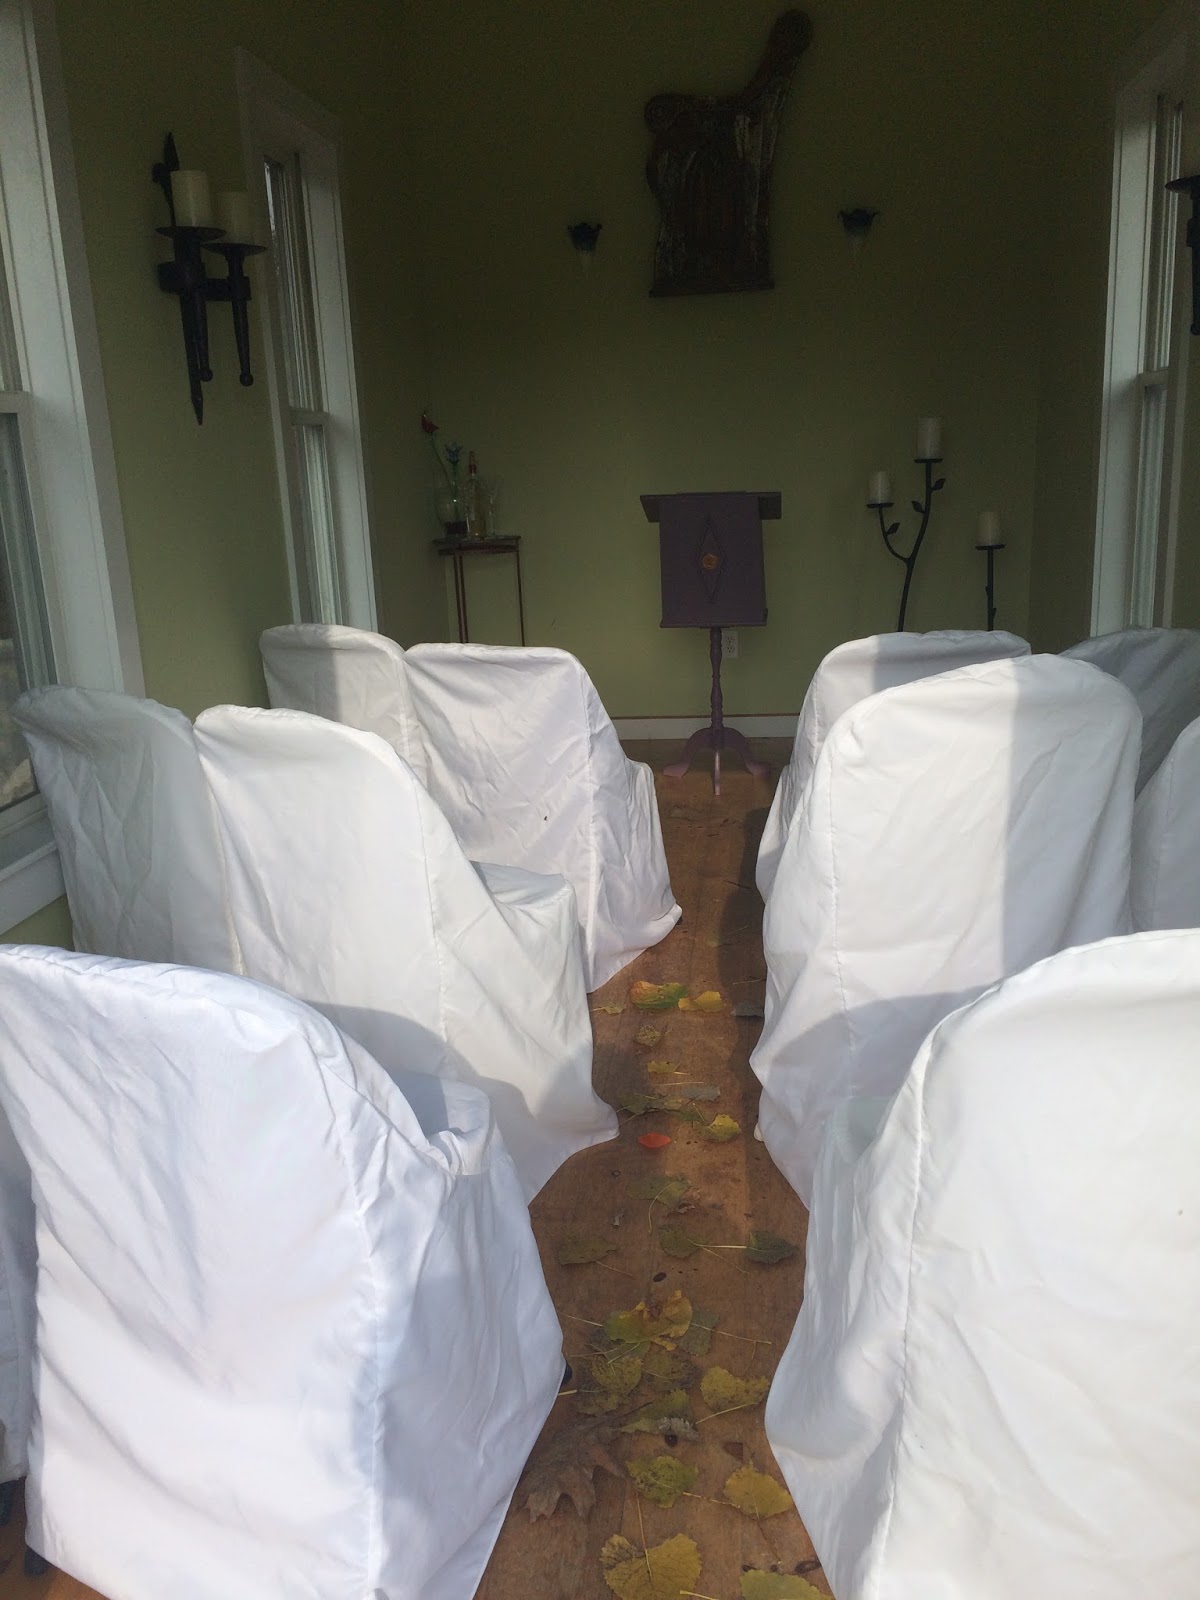

 Toasting station.


I loved her hair piece and her shall.  Peacocks galore!


The handsome groom!


Exchanging vows


Drinking from each other's glass


The kiss!


 The certificate (even though the legal ceremony happened at the court house on Monday)


Party time.  Everyone was getting into costume.  
My other daughter and her boyfriend went as Amelia Pond and the Doctor.  


And while I completely HATE this photo of myself I am posting anyway.
I went as the peacock queen and hubby went as a peacock trainer.


The back of my tutu was so much prettier.  I hand sewed the feathers to the tutu.


I didn't get a photo of my son but I know that the photographer did.  
I have to show you the cake. 
 It came from Cake Crumbs in Southfield MI and I would totally recommend them!


Shelby's friend made the peacocks for the cake topper and they were so sweet.
You can find her work here.
The male has his wing around the female.  
LOVE how his tail ended up in cupcakes!  
All different flavors of cake, made it really fun!


The sign out front of the hall.  I had to basically beg to get them to do this for me.


The "Mad Scicntists" entrance to "She Blinded Me With Science"


They didn't want to cut the cake it was so beautiful.  
I did buy them a cake knife with their names and the date on it 
as well as the server that had an etched peacock on it. 
(again I forgot to take any photos)
They chose Cake By The Ocean as the cake cutting song.


They were nice to each other with the cake.


First dance.


Daddy daughter dance.


Mother son dance.  
Mom and dad went as Amy Farah Fowler and Sheldon Cooper, the later years.


Our fabulous DJ Joey, put this together. 
 My niece, Jane wore the T-Rex costume and she was a HUGE hit on the dance floor!  
If you need a DJ you should totally look him up!  
Hubby and I dancing, Shelby and Eric, friends, and the bottom one is most of my husband's family.  Plus you can see my son standing in front of me, next to the groom.  
(I know, doesn't he look just like Chris Pratt?)


If this photo is any indication of what is to come, I can't wait to see Amber's pics.
Amber Yanovich was our photographer.  You can contact her through her website.
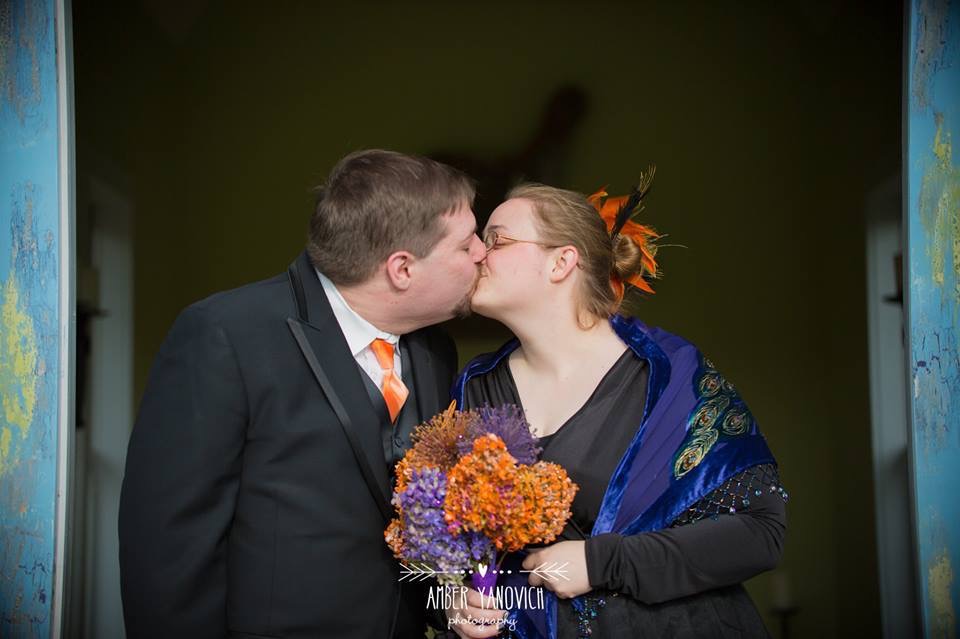

I will have more pictures once we get some back from Amber.  
I hope anyone else that took photos will 
use the hashtag #happyhallowedding to post whatever photos they did take.

~XOP~


Wednesday, October 26, 2016

WIPs With Friends

I have a very brief minute to make this post.  
I will be out for the rest of the week and part of next week for my daughter's wedding.

I stopped out to her farm to visit her last weekend because her oldest peacock, Blu hurt his leg. 
 He had an ankle issue and had surgery when he was young.  
It never really healed well and he pretty much stands on one foot all the time.  
It was bound to happen that something would happen to his other foot/leg.  
She has to take him to the vet today and hopefully we will know more soon.  
He is the very first peacock that she hatched out from an egg.  I
t was while she was living in our home.  Both he and his sister and the turkey Jocelyn. 
 Osirius has passed away but Blu and Jo are still alive and kicking.  
Hopefully it is just a strain and not a slipped tendon, but we should know later today.  

He is such a pretty boy! 
 I am sure you have seen lots of photos of him thoughout the years, 
but just in case these are his last few days I wanted a few more.


Daughter was happy that he has fathered so many babies and that she still has some.  
She will keep one or two if something is seriously wrong with him. 
 She said one had Osirius's face and took me into the barn to see.  
This is what I saw. 
 It was quite dark and I thought it was three peafowl but no, it was a peafowl sandwich with a peafowl wanna be in the middle!  
As soon as I saw the three of them I knew immediately it was the bird on the far right.  
His face looks just like Osirius's did.


So now on to my WIP.  Still the Hallowedding quilt.  Now it will have a haunted house!
I am loving how this came out!


As I said, I will be on a short break until after the wedding, but please do link up.

Link up here and 
tell us all what YOU have been working on too!  
You should know the drill by now.  
Click on the blue "inlinkz" button to add your link.  
If you are only on Instagram use the #wipswithfriends.

~XOP~


Now it's your turn to link up your finishes here. 
 Remember that if you do post in the link up here
 you should post a link back to this post on your own blog too.

So now it's your turn to share what you are working on.  
Please use the linky to link up and share that you linked up to WIPs With Friends on your blog too.  If using Instagram please use the hashtag
#wipswithfriends.  
We can't wait to see what you are working on!
Use the blue Inllinkz button to link up and spread the word by linking back to this post!


Wednesday, October 19, 2016

WIPS With Friends

So I have soooo much to say but not much time this morning. 
 I want to tell you all about my trip to the Finger Lakes in NY 
but that is going to have to wait for a few days.  Today is for WIPs With Friends day, YAY!

I have to say that I am making a snail's amount of progress on the Hallowedding things 
(including the quilt).  
I have made some progress on other parts of the Hallowedding prep.

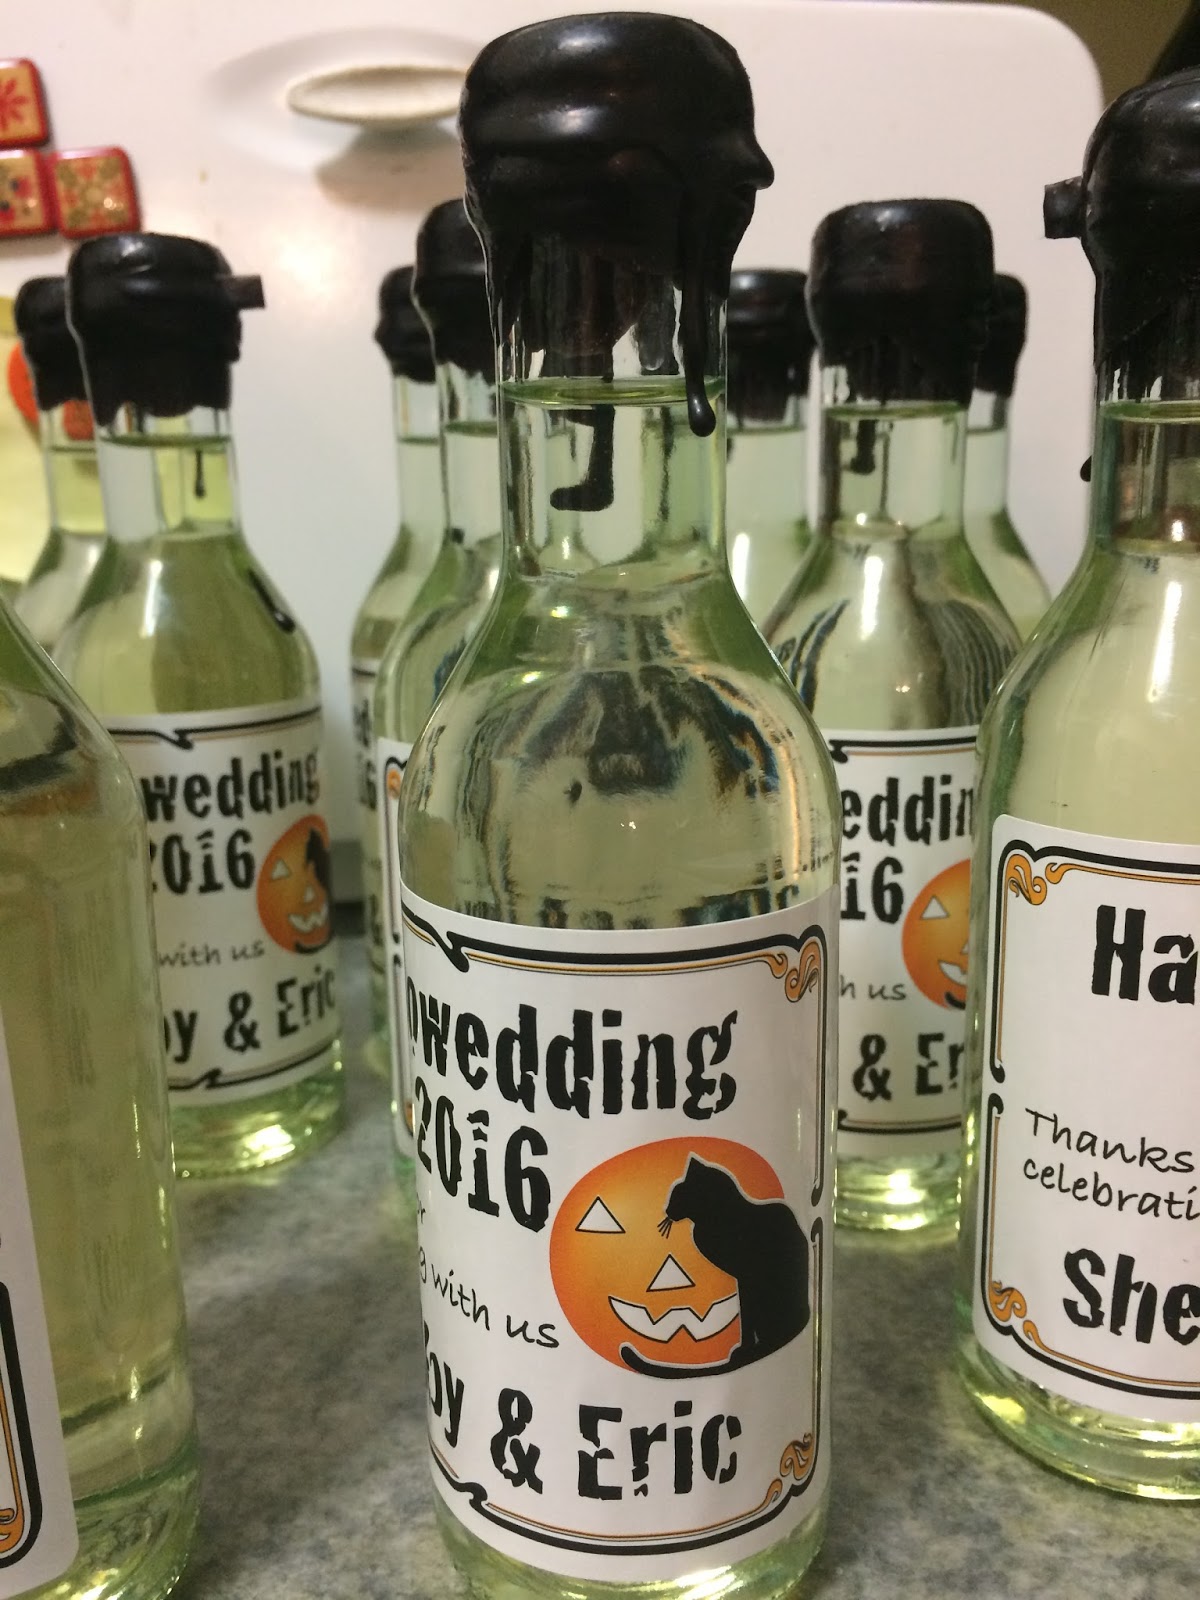
We are using wine in mini bottles as wedding favors.  
My friend, Robin, designed the labels for the bottles.  
That meant I had to soak the labels off of 100 bottles of wine, sigh. 
 I re-labeled some of the bottles and
figured out that I hated the blue cap with the new, very chic, Hallowedding wine labels.


What to do, what to do?  I wanted them black.  Paint? Nooooo wax!!  How do I do that??  
How will people open the bottles? Google to the rescue.  
I found out that I needed 1/4" strapping tape 
to wrap around the cap prior to dipping the caps into wax. 
 I found and ordered the tape and the black wax pellets before I left for NY.  
You can see the tape around the tops in the picture above.

Last night I decided was the night to try my little craft project. 
 I did not want to ruin a pan so I bought a pot pie pan. 
 I poured some of the pellets into the pan and put in in a pot of water 
(like a homemade double boiler)
 and melted the wax.

This is what the pellets looked like before melting.


And here they are in the disposable pan all melted. 
 I used a wooden chopstick that I had to stir the pellets until they all melted.  
It was a little tricky as my wax pan was smaller than the water pan. 
 If I pushed too hard the wax pan could dip and water get into the wax.  
I used the chopstick to scoot it so the lip of the wax pan was over the water pan on the side closest to me and then stirred.  


Now came the fun part, dipping the caps! 
 I did just that.  
Inverted the bottle and pushed the top into the wax and turned it until the cap was covered 
(I had to pay attention to the direction so the tape tab got covered too).  
Then I tipped the bottle to let the excess drip off the tape, 
thus ensuring that the tape was covered in wax too.  
It only took a few seconds for the wax to set enough that it was not a drippy mess and I put the bottle upright on waxed paper (JIC).  
There was a little dripping down the bottle on some but 
I kinda thought that added to the effect I was going for. 
 I dipped 100 bottles last night and it took me a about 1 1/2 hours.  
I know you are dying to see what they looked like finished right?


I thought they turned out so great!!  Here is an entire case all finished.


Lest you think I have forgotten the Hallowedding quilt, I have not. 
 I did finish another block.  
I wanted to take the original art work of Michele Warner, who did the costumed Raven for the wedding invitation and make it into one of the blocks for the quilt. 
 It was not quite as easy as you might have imagined (or maybe I am not as talented as all that).

Here is what I came up with. 
 I enlarged the bird and then traced his body using my light box, onto fusible.


I then fused him onto my background 
(I chose spider webs because on the upper left of the invite there is a big ole spider web.)  
Then I drew some tail spines with a Frixion pen and went to town stitching feathers. 
 I also stitched his crown using thread and fm scribbling,


The eyes of the feathers were a little trickier. 
 I wanted a clean look so I appliqued these onto the feathers and then 
stitched around each of the three fabrics using free motion stitching.  


I wish this showed up a little better but I scribble stitched the raven incorporating blue threads to give that typical blue black sheen you see in these birds.  
First I just free motion stitched the eye but you couldn't really see it so I appliqued a piece of gray fabric and they stitched to fill it in a little.  
At least this way you can tell he *has* an eye!  
The crown is free motion stitched as well.  

Straight stitch and then a circular scribble to fill in the circles on top.


The bad part is that the feathers really, REALLY scrunched the fabric up. 
Also, very tempting to iron but then all your drawn lines would disappear, cuz Frixion pen.
 When I did the names I found this to happen so used interfacing, 
but it really did not help as much as I had hoped.
  I think maybe heavier interfacing may have been a better idea, but live and learn.  
After all that hard work, I was determined to make this work. 
So I pressed the he** out of it using steam and spray starch, LOL. 
 It was a little wonky but I was able to trim it . 
 I was smart enough to make the length long enough to get the final length I needed 
but I goofed up on the width.  
I will have to see where this fits in the quilt and adjust from there with "coping strips".  
I only needed 1/2" more to make the whole thing 12.5" x 12.5"
 so may end up cutting it down to 9.5" x 12.5".  

Whew that is a lot! 
 I will link up with Let's Bee Social but I want you to link up here and 
tell us all what YOU have been working on too!  
You should know the drill by now.  
Click on the blue "inlinkz" button to add your link.  
If you are only on Instagram use the #wipswithfriends.

~XOP~


Now it's your turn to link up your finishes here. 
 Remember that if you do post in the link up here
 you should post a link back to this post on your own blog too.

So now it's your turn to share what you are working on.  
Please use the linky to link up and share that you linked up to WIPs With Friends on your blog too.  If using Instagram please use the hashtag
#wipswithfriends.  
We can't wait to see what you are working on!
Use the blue Inllinkz button to link up and spread the word by linking back to this post!