I don't usually join in these things but my BFF Pauline (
Quiltin' Queen) is hosting
so I wanted to support her and join in the hopping mania.
Any of you who know me know that I am sometimes a bit of a rebel.
I did ask if we could make something other than a pillow and she told me yes.
I don't really like making pillows, so this will be a tutorial for something a little different!
OK so here goes!
I decided that first of all "Holiday Lane" could be any holiday right?
You all know my favorite holiday is Halloween so my project is Halloween themed.
I want to thank Jill over at
Jillily Studios for her pattern it was easy to follow and
easy to adapt to my finished project too.
I decided instead of a pillow I would be making a sewing machine cover!!
I hope you would like to join me and make one along with me!!
The first thing you need to know are the dimensions of your sewing machine.
You will need the:
Height, Length and Width. I used the dimensions as follows and will show you how to make your calculations to make your cover fit your machine too.
My height was 13" Length 18.5" and width 9"
To calculate your dimensions:
Width 18.5" + 3"= 21.5"
^
your length here
Length 13" x 2 = 26" + 9" = 39"
^ ^
Your height here Your width here
I hope this makes sense to you! It is a little confusing!
You will also need
~48" of ribbon cut into eight 12" lengths, color and width of your choice.
Batting and fabric for center of cover and the back (based on your measurements)
small bits of fabric for embellishments.
I added up the width of each separate house section until I had a width that worked for me and
made the panels accordingly.
For one side I made house sections 1, 2, 5, and 3.
For the other side I made house sections 4, 5, 2, 1, and 6.
I sewed my panels together and then the fun began!
The embellishments!
I decided it needed some cool roofs.
So rick rack it was!
I used Steam a Seam in a roll to apply the rick rack to the roofs.
Then I fused it into place and began to put on the other fused things.
A moon, some ghosts, a witch's hat etc.
You can find my patterns for them
over here
Just get creative with your embellishments!!
I was having fun with this step!
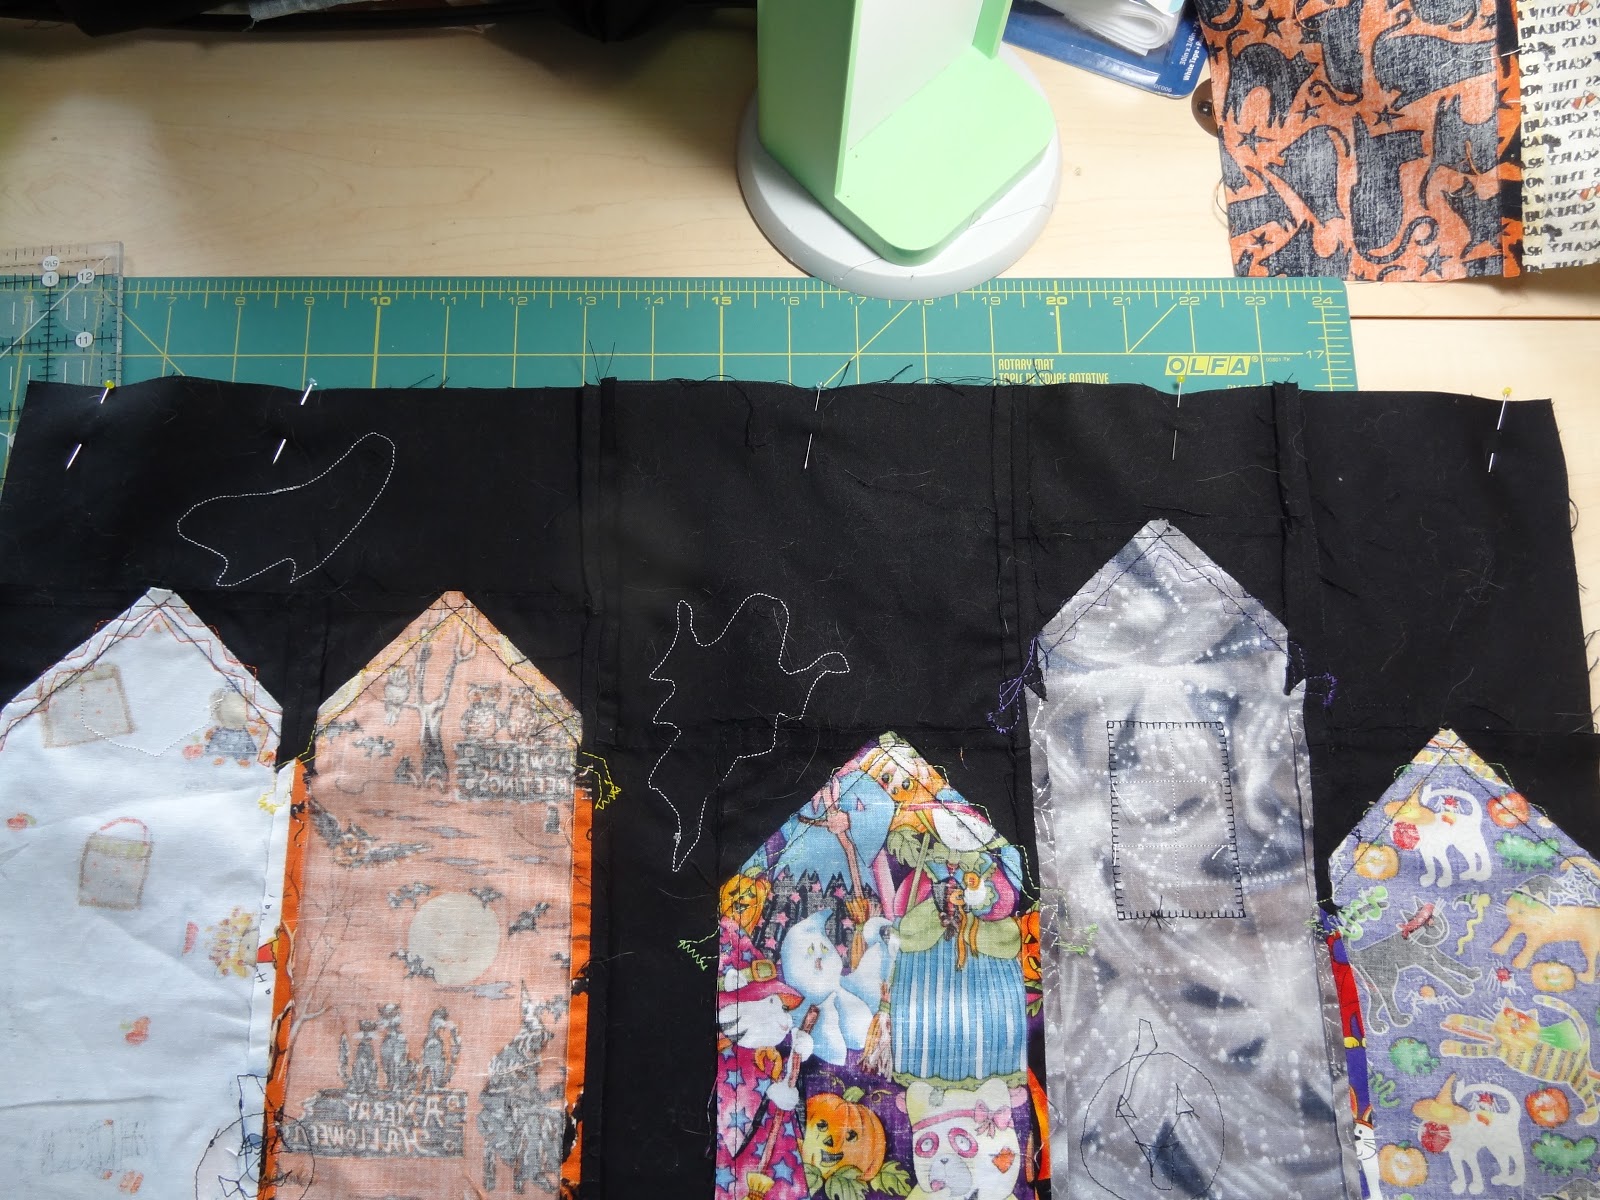
I stitched everything down too.
Sometimes I did a blanket stitch,
Most of the time I did a straight line stitch.
(You can see it here on the back)
Don't forget to stitch your rick rack down too.
I just followed the line of the rick rack and zig zagged the ends.
I also used Fray Check on the ends as added assurance!
After you have all your embellishments done and sewn in place measure from the base of the house to the top of the piece and add the measurements together.
Subtract that from the final number you got for your "Length" above, mine was 39 total and
I had to subtract the measurements of both panels.
This is the amount you need to add in between both panels to make the cover complete.
Pin then sew each panel to opposite sides.
Now comes making the actual cover part.
I cut a piece of the black the same size as the entire cover.
You have to cut a piece of batting the same size too.
At this point you need to put your ribbon ties on the front of the cover.
Measure 6" from the bottom on each side and 6" from the top on each side.
Pin your ribbons there.
Time to layer your cover. First the batting, then the backing and then the top (RST with the backing). Pin in place,
Your ties will be in between the top and the backing.
Sew all the way round leaving an opening for turning.
Trim corners before turning.
Turn press and pin opening closed
Press all the way around and top stitch all the way around.
I did it twice so I didn't have to stitch the opening closed by hand (yes I'm THAT lazy!)
I put a piece of tape down the center and suing my walking foot I stitched down one side.
Then I stitched organic lines all the way to the sewn panels.
I also quilted around the houses, and all of the fused elements.
I added stitched on windows and doors to quilt that part down too.
Here is the finished sewing machine cover, both sides!
**Note the bling on the bottom of this one!**
It fits my BFF's machine perfectly!
I hope you like it Pauline.
I made it so you would have something to remember hosting your first blog hop!
I am so proud of you and how far you have come!
Now it is time to go and visit everyone else that is posting on this day!
Tuesday November 27
I hope you have enjoyed my tutorial!
Please let me know what you think of it.
Thanks for the visit!
~XOP~