Tuesday, January 31, 2017

Quick Post

I just have a few minutes but wanted to share.  
Hubby and I made pasta from scratch last night for our dinner. 
 He also made some delicious chicken meatballs.  
He ground up one chicken breast and added some bread crumbs and an egg 
then baked them in the oven.  
If you have not made your own pasta you should give it a try.  It is pretty messy though!


I think we got almost as much on the floor as we made, LOL.


Here is what we got plus three more from a half recipe!  It was spaghetti.


Chicken meatballs under some Asiago cheese.  YUM!


Don't forget that tomorrow is WIPs With Friends day!  I hope you will be joining me.

~XOP~


Friday, January 27, 2017

Ocean Waves QAL Part 3

I hope you all are making progress in your cutting.  
I thought for those that may be ready to begin making their blocks I would do a post showing construction of the quarters needed to make the block. 

 It was kind of late last night so pardon the poor lighting!

First up is to sew your HST (or half square triangle) units. 
 There are a LOT of them! 
 I know that I like to sew some, trim some and put some together 
so that is what I will be showing here. 
 You can then go at your own pace as far as how quickly you want to put your blocks together. 
 I plan to have regular check-ins and show my progress, and would love it if you would link up and show everyone else how you are doing too!!

Alright, let's get down to construction, shall we?  
Since I am using navy and white fabrics I will refer to the white as my background.  
Your background may be different. 
 I am using navy for my second color and again yours may be different.

If you remember you should be cutting your background and colored squares at 3" for the HST units.  I sewed mine by sewing 1/4" on either side of the middle, and no I don't draw a line, I use the Clearly Perfect as you can see in this photo.


I sewed up six sets of HST units. They become 12 when cut apart.


Once I sewed them all, I cut them apart down the center. 
 I opened them up and pressed them to the dark side.


These are all my HST that I need to make an entire block.  Four sets of 12 HST


Next up came the trimming.  I LOVE using my 2.5" Bloc-Loc ruler to trim all my HST units. 
 I also use the heck out of my little 12" turning mat.


I centered my ruler over my HST, locking it into the seam and trimmed two sides, spun the mat,
 and trimmed the other 2 sides.


 The pile of trimmings sure pile up!  Wonder if the birds would use these for nesting in the spring?


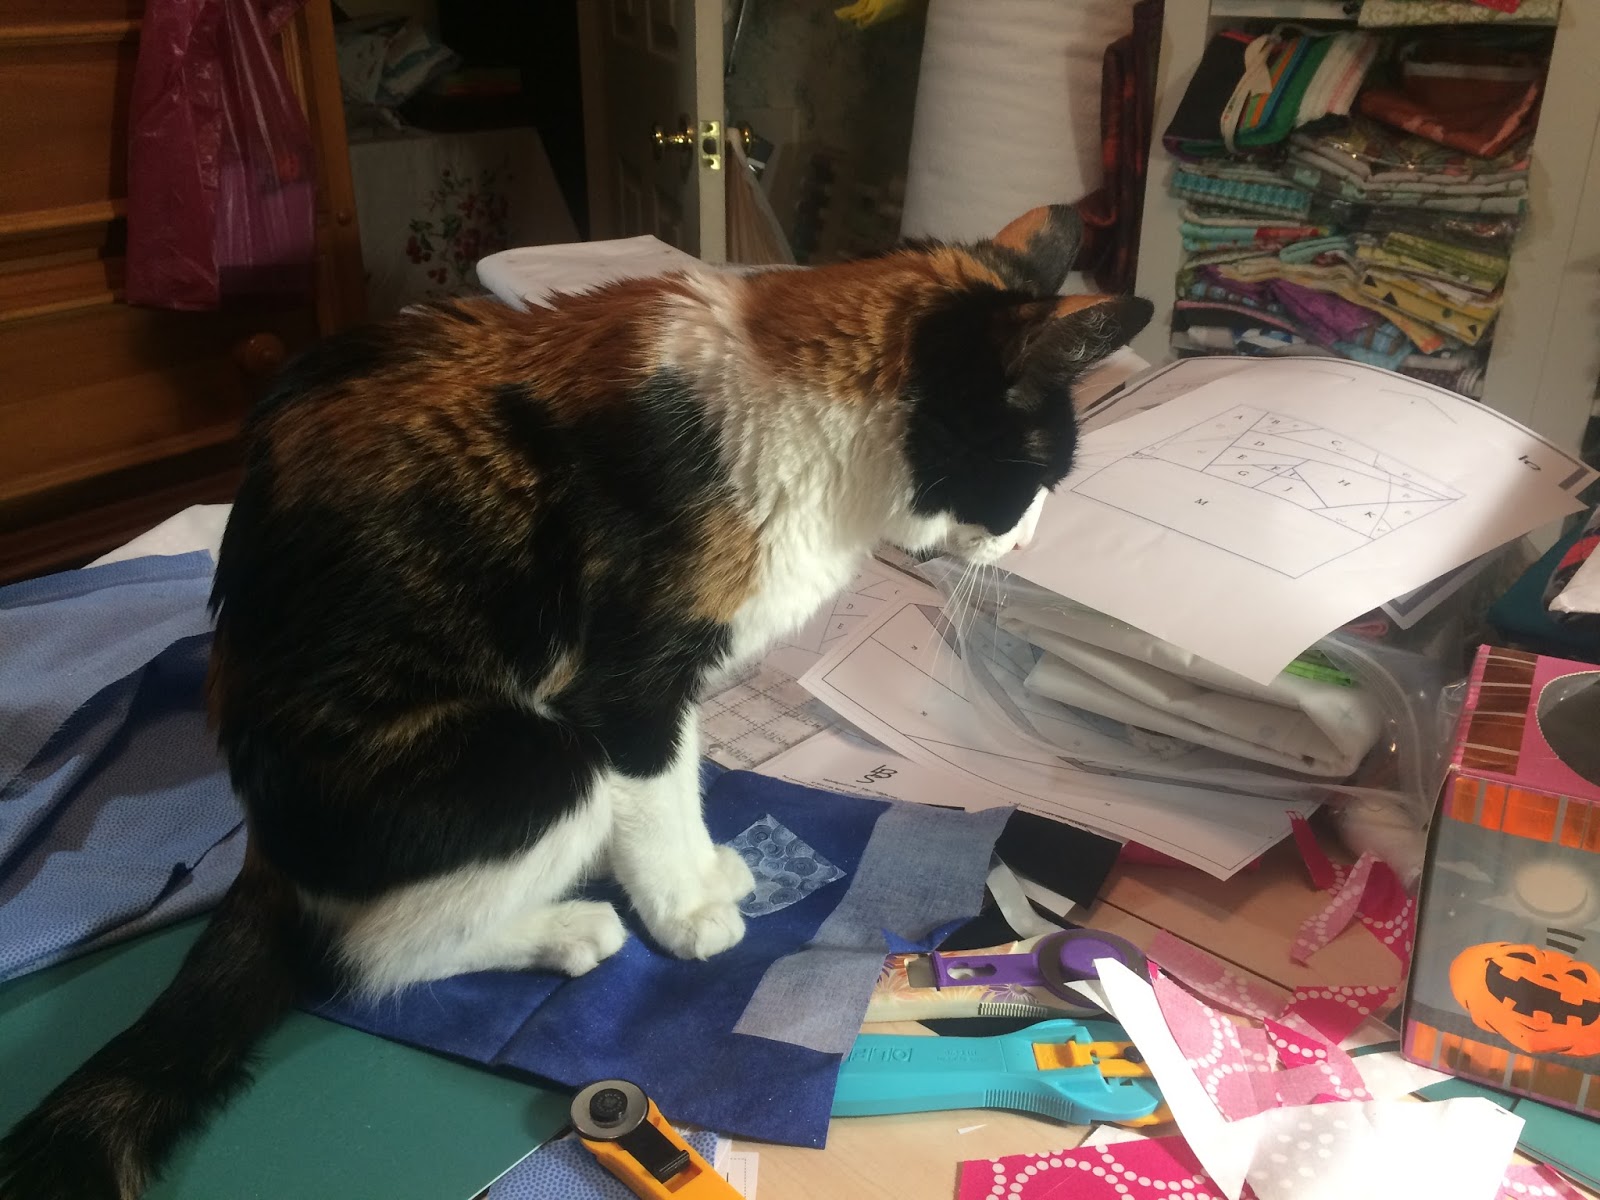
Autumn was sleeping on the job!  To be fair, as I said earlier, it was late for both of us!
I really wanted to be able to do this post today though.


This is how one quarter of the block is laid out ready to sew.  
All of the blocks are sewn the same as this one.  
(Yes, trust me they really are)


 I did have a discussion with someone recently about the block construction.  
As you can see there are 12 HST for each quarter of the finished block.  

You are looking at 1/4 of an Ocean Waves block here. 

 In addition, there are 4 2.5" squares per 1/4 of the block.  
The math works out that for one Ocean Waves block you will need 48 HST units and 16 squares.  Please know this is certainly not the only way to construct an OW block, 
it is just the way I am choosing to do it.


OK, back to work.  
Next up, by row, I sewed together the first pair and the second pair in each row.  


I pressed the seam open. 
 I did this because I feel it makes matching the points easier 
when it comes time to sew the rows together.  


I then sewed the pairs together to form 4 rows.


Next up is sewing the rows together.  This can be slightly tricky.
  I tried to show in this photo that I put a pin at the point of the triangle. 
 This pin would go through the point on the triangle on the opposite side
 (see what I mean about ease of viewing?)  
I pinned each intersection and both ends. 


 So, I sewed row 1 ==>2 and row 3==>4.  Again I pressed open.  
You can see that the points matched up quite nicely!


Nest I sewed these two units together to form my final quarter of the block.


This was the second one I made last night. 
 It took me ~2.5 hours to make these 2 units. 
 I did have all my squares cut.  I just thought I would give you a time frame.
  I am not rushing, I fully intend to enjoy the process!


Once you have 4 of these units sewn
 it is time to sew them together to form the actual Ocean Waves block.

Please note in the photo the placement of the quarters to form the "circle".  
Also note that they really are the exact same units just rotated to form the actual block. 
 I do confess this is from a test block I had made previously though, as it was past my bedtime!


Once you have all four units you may sew the top two together and the bottom two together. 
 I pressed these seams open. 
 Then you will sew the top section to the bottom section.  


You now have one completed Ocean Waves block!!  

I am dying to see how everyone is progressing so please link up here and show me.

Don't forget to use the #OceanWavesQAL on social media too.

Have a fun and productive weekend!

~XOP~

Please link up your progress here using the blue "Inlinkz" button.
If you don't have a blog maybe leave a comment, so we can see who is playing along.


Wednesday, January 25, 2017

WIPs With Friends

I am working on another baby quilt with my two friends, Robin and Judith. 
 This time the chosen pattern is called Legandary and it is by Elizabeth Hartman. 
 If you want a copy you can find one right here in her shop.


Now here is some history about this project.  
A woman we all work with is crazy about all Yeti (big foot included), 
so when I saw this pattern I knew this was the one to make for her! 
 They are having a baby girl and these colors are so masculine.  
I decided that I needed to make the Mama Big Foot in pink (with polka dots!) 
 We were all going to make green trees. 
 I cut my trees out. 
 Then I cut her out.  
Then I cut out all the background for the whole quilt.  

On Sunday I sewed her up and was so thrilled with how she turned out.
  I used a print from the Lizzy House Whisper Pallette for the background and I love it.


Next up was my first tree.  Also a Lizzy house print.  Which I probably need more of right?


I wanted to make all the trees,
 but decided I could really only make one more before it was my bedtime.  
I got to use my petite Henna Garden for this one.


I posted on IG several people said they would never have thought to make the Big Foot in pink.  
That's all I needed to get the wheels in my head turning about the forest. 
 I laid in bed tossing and turning when...
EUREKA! 
Why not make a rainbow forest? 
 So then I had to think about how many of each color 
and which one of us would make which color trees. 
(more not sleeping).  
Thankfully I know their stashes!  
So I chose the green (for obvious reasons) and took the orange (they don't like orange).  
I was so excited I could not sleep.  
It was after midnight.  I finally got up and texted them.  
Guess what? 
 Then I was able to get to sleep!!

I am looking forward to getting my orange trees made now. 
 One of my friends just had knee surgery yesterday so it may be awhile until I get her trees, but the baby is not due until April.

Your turn to share what you are working on.  
Anyone working on cutting more squares for the OW QAL? 
 That's on my list after the 2 orange trees.

~XOP~

Now it's your turn to link up your finishes here. 
 Remember that if you do post in the link up here
 you should post a link back to this post on your own blog too.

So now it's your turn to share what you are working on.  
Please use the linky to link up and share that you linked up to WIPs With Friends on your blog too.  If using Instagram please use the hashtag
#wipswithfriends.  
We can't wait to see what you are working on!
Use the blue Inllinkz button to link up and spread the word by linking back to this post!

Friday, January 20, 2017

Ocean Waves QAL Check In

I thought, since we have had a couple of weeks since the start of the Ocean Waves QAL,
 I would see where everyone is at.  
If you missed the first post you can find it here.  
You should be cutting your squares for the quilt at this time.

I have cut a LOT of strips and am working on subcutting those into 3" squares.


I have ~12 blocks worth of the blue fabrics cut but 
need to get some of the white cut so I can sew a few.

As you can see my quilt inspector is quite unimpressed by my progress.  


Here is a view of the little squares all neatly stacked up!  

I want to cut some more of the other navy fabrics for some variety. 
 My plan was to make each 1/4 of my block out of the same navy fabrics.  
What I am finding is that I have some left overs from some of the strips.  
So now rather than waste those I am wondering if I should do some of them scrappy navy.  
What do you think?

Also I plan to incorporate some of the Neptune fabrics into a few of the blocks
 but have not cut that fabric yet (my Precious, haha).  

So, how are you all progressing on your cutting?  Anyone ready to sew yet? 
 I hope to get all my cutting done this week so that next week, as I am working on a baby quilt that I need to make, I can sew some HST as Leader and Ender blocks.

Time to "Link Up" and show us what you have so far. 
 Don't worry if it is only just the fabric, please show us that too!  
Wherever you are that's what you should show.  
No pressure at all.
  
~XOP~


You can click on the blue Inlinkz button and add your blog post to our link up, complete with photo!
Also use #oceanwavesQAL on Instagram to show your progress too.


Thursday, January 19, 2017

WIPs With Friends (the Thursday edition)

Sorry about missing yesterday.  I had cataract surgery on Tuesday and didn't think it was such a good idea to be on the computer on Wednesday.  I'm back and all went well so let's have a WIP progress today instead, ok?  I guess my eye counts as a WIP since it is getting back to a new normal now right?

This was me on the way to the doctor the day after the surgery.  
(you can see the sharpie dot above my left eye so they knew which eye to operate on).  
I still can't get that dot off!  Hope this photo doesn't scare anyone. 
 I am not allowed to use eye makeup for a week.


I did some work but not too much actually.  
As you all saw I did the Bumble pillow cover and that took most of my time.
 I worked on a block that I have had "in progress" for some time and 
got all the stitching around the applique finished.  
I can't show it as I am thinking about submitting it to the 100 Blocks magazine.  
It is super cute though. 
 I am trying to decide if I want to keep it instead and make a little wall hanging and submit that 
or send off the block.  
Without seeing it what would your vote be for?

OK so since I am so lame and have nothing else to share today, what are you working on?  Time to share via the linky.

~XOP~

Now it's your turn to link up your finishes here. 
 Remember that if you do post in the link up here
 you should post a link back to this post on your own blog too.

So now it's your turn to share what you are working on.  
Please use the linky to link up and share that you linked up to WIPs With Friends on your blog too.  If using Instagram please use the hashtag
#wipswithfriends.  
We can't wait to see what you are working on!
Use the blue Inllinkz button to link up and spread the word by linking back to this post!


Monday, January 16, 2017

Meet Mrs Bumble

I have a friend at work that is CrAzY about Yeti.  
She is expecting a baby and she is decorating the nursery in a Yeti theme.  
I remembered a pattern for Bumble from the Rudolph tv show and went on the hunt for it. 
 It is at a site called Fandom In Stitches.

If you are looking for something that has a fan base you may want to look there first. 
 Disney?  Harry Potter? Comics and super heros?  They have all of that plus more!  
I thought that was where I had seen Bumble and I was right!   
 It is under the Holiday Favorites tab.


OK so paper piecing it is.  It was relatively easy except for two things. 
1- The larger bottom section printed off the paper (not scaled of course).  
I printed it out smaller and measured the differences and
 translated it to my pattern which was successful.  
2-The pattern had all the pieces colored, which was so helpful. 
 All except for the background pieces!  UGH.  
I had to try to figure out what colors went where and 
did no small amount of ripping out and replacing until I got it correct.  

Of course inspector Autumn was right on "helping me"


Take a look at this eye section!


Here is Mrs Bumble all finished and trimmed up.  
My friend is having a little girl so the Bumble had to be in pink of course! 
Still considering adding a bow too. 


I wanted to make this a pillow cover so I had to add to the background.  
I would have made it larger but that is all the pink PB fabric I own right there.  


I went ahead and made a quick envelope back for it and it is all finished!
I just need to purchase a pillow form to go inside and it will be ready to gift
Well, unless I decide it needs a bow, which I would do first.  

What do you think?  
Bow or no bow?


What did you work on over the weekend?

~XOP~


Thursday, January 12, 2017

Craft University

The folks at Craft University contacted me and offered me the opportunity to take one of their classes (for free)
They wanted me to write a blog post about the course, so that means this is a sponsored post.  
They did NOT tell me what to write.

I chose the Design Quilts with EQ7 & Nancy Mahoney.  
The registration for the course can be found right here if after this you want to take it too! 

 Additionally there is a beginner EQ7 webinar with Nancy Mahoney that is less money and if you do that first you will receive a 20% off coupon code to use toward the full course.  


I have been dying to learn this program ever since I had EQ6 so this seemed like the perfect time to take them up on their very generous offer.  
I have to say that I really enjoyed the online course.  I learned so much!  
It was a little overwhelming but so amazing.  

Nancy is an excellent teacher.  
She follows a logical progression as she goes through the material. 
 I watched each hour lesson and furiously took notes. 
 I wanted to hear it all once before I actually opened up my EQ7 and worked along with her.  
 I would need to open the course on my iPad and do the EQ7 lessons on my actual computer.  
She did suggest that the program works best when using a mouse 
so I need to go out and get one of those.

There is a tip section that explains how to navigate in the program.  
They also have phone help for technical issues, instructor problems or general site issues.  
I didn't have a problem so did not use that feature, but it is nice to know it is there.  
Additionally there is a place to ask the instructor questions if you have any.  
I did ask some questions and Nancy herself answered those.  

As an example this was the first page of the beginning of the first lesson:
(shared with Craft University's permission)


As you can see there is a LOT of good information covered in just the first lesson.

Sometimes it was tricky to see what she clicked on as the camera was on the EQ screen 
but you can rewind and watch it so you can see it better. 
 I don't think there is any better way to be able to do that part though.

Nancy did a fantastic job of explaining and showing LOTS of examples of what she was doing.  
As I said I was taking lots of notes. 
 It would be fantastic if they had an actual notebook of all of this information that 
you could take notes in as you follow along.

I can't wait to design my Ocean Waves quilt in the program.
The whole time I was listening I kept thinking,
"Wow, this would make laying out of my quilt so much quicker!"
Not to mention effective use of color placement.
No more trying to erase the colors or starting over!  
YAY!

You can change the colors so easily.
On the very last lesson she was talking about borders.
I don't know about you but when I get ready to put on a border I never seem to end up with what I thought I wanted to do.  
Either I change the fabric or the size or something.
Well in EQ7 you can scan in your own fabrics, and a photo of your quilt and guess what?
YES you can preview your borders using your fabrics and your own quilt.
A whole new world just opened up to me!

(shared with permission of CU)

I really loved this course!  
You have full access for one year from the time you pay.  

Now I know that sounds like a long time but I don't think it is really long enough. 
 Once you pay it would be nice to have access to the class forever, right? 
 Sometimes life gets in the way or you don't use one section and later wish you still could go back and view what you are SURE Nancy told you about that. 

 The good news is that YOU CAN have it forever!!
Look at the end of the video box and there is a green box with an arrow.
When you hover over it it says "Share Control".
If you click that you can download all of the videos and keep them forever.


How amazing is that???
No streaming necessary.
Download and take it wherever you are.
Brilliant! 

There are a LOT of great online courses over at Craft University. 
 If you have not checked them out you need to go and do that...right now!!

Tell them Mama Spark sent you ; )

I would love to hear of your experiences with Craft University courses.
If you can't afford the whole EQ7 course start with the webinar
I think the important thing is to just start.

What are you waiting for?

~XOP~


Wednesday, January 11, 2017

WIPs With Friends Hallowedding Progress

I am continuing progress on the Hallowedding quilt top.  
I lost one of the spider webs and finally found it this weekend.  
Then I thought I had lost the 2 witch's hats and the 2 candy corn blocks but 
they were actually hiding under the other spider web block.  
(Of course I discovered this after I made new ones, LOL.)

I had made a few extra coffin blocks and was lamenting this when another friend suggested that I use them in my filler block locations.  
BRILLIANT (this is why she is by BFF).  
I hand appliqued 4 individual coffin blocks and trimmed them to fit in the places that I needed the filler blocks. 


 Remember that since the ring was 6" larger, I had to find a way to enlarge the quilt top to make it fit.  I dug out the graph paper and started working. 
 As it turns out there was only one partial seam in the quilt top piecing. 
 How lucky was that?  


The first section I worked on was this one.  See the four filler blocks? 
 I was happy to use that skeleton hand fabric forming hearts. 
 It came from my friend.


I think this one with the cat, fish and boy (holding up the peacock) is my favorite.  
I was totally going for this look too.  So cool!


I wanted to find a way to use Sebastian in the quilt wherever I could and this large pink cat was purrrrfect!


A different friend also send a Ghastly peacock so I had to use him.  
See that pumpkin fabric?  I was dying to find a way to include that in this quilt.


I was under the mistaken idea that I needed to make more candy corns so made this one with the cat.
Turns out the others were hiding under that blue web!  
(They will be on the back)


Another "must use" fabric was this haunted forest.


Last adorable filler I will share is Sebastian on the picture frame.  
These were all so perfect for my quilt.


So this is my progress after the weekend.
Linking up with Sew Fresh Quilts

~XOP~

Now it's your turn to link up your finishes here. 
 Remember that if you do post in the link up here
 you should post a link back to this post on your own blog too.

So now it's your turn to share what you are working on.  
Please use the linky to link up and share that you linked up to WIPs With Friends on your blog too.  If using Instagram please use the hashtag
#wipswithfriends.  
We can't wait to see what you are working on!
Use the blue Inllinkz button to link up and spread the word by linking back to this post!