
If you google this you will find LOTS of different ways to do this.
My way was the easiest way for me and I thought I would share.
I suspect once you make your own you will never buy one again!
I used flannel for mine, but you certainly could use a woven.
Materials needed for one crib sheet:
-2 yards of flannel
-80 Inches of 1/4" elastic
-Thread
-A ruler that can do an 8.5" square
-Rotary cutter and mat
-Iron and sewing machine
***Very important: Do NOT remove the selvage edge of your fabric!***
First things first, I like to even up the edges on both ends of the fabric.
Just like you would if you were straightening them to cut for a quilt.
You may leave the fabric folded as it comes off the bolt (in half width wise).
Then use your mat or a tape measure to make sure your length is ~68".
Once you have that done, fold the fabric length in half bringing the ends you just cut together.
This is where you want them so you can cut all for corners at the same time.
You can see here how I am bringing the cut edges together with the width fold at the top
and the selvages at the bottom.

Align the folds at the top, the cut edges t the side and the selvages at the bottom.
Now place your ruler so you have an 8.5" square to cut.
This will cut all for corners at the same time.
Cut along both sides of the ruler to remove a 8.5" square.


This shows one end of the entire sheet.
I don't have a place big enough to show both ends but the other one looks just like this one.

Next up is sewing to make the corners.
I like using French seams so that the raw edge is enclosed.
to do that you will bring the edges of the square you just cut
(One corner at a time)
wrong sides together.
Yes you read that correctly, wrong sides together.
Pin and sew 1/8" seam.
I like to start in the corner and sew to the selvage edge.

Once that is sewn on all 4 corners, turn so right sides are together and give each line a press.

Sew 1/4" seam (thus encasing the seam you sewed first) for each corner.

I usually give it a press when I open it up.

Voila! Your 4 corners are all made and you have no raw edges exposed! The inside will look something like this.

The outside corners should look like this.

The last bits are super easy.
You will be making the casing for the elastic now.
Fold and press, a scant 1/4" edge all the way around the raw (selvage) edge of the sheet.

Try to make sure the seams from the corners all go in the same direction.
This will make the elastic insertion easier later on.

Next you will fold over and press, a scant 1/2" to finish forming the casing.

It's now time to sew your casing.
You will need to leave a little bit of space open to insert the elastic.
I put pins to know where I will start and stop.

I will begin sewing right along the edge just before my first pin
(which I remove so I don't sew over it)

You can see here how close to the folded edge I sew this.
Like when you topstitch.

Continue to sew all the way around paying attention the the direction the corner seams are.
Make sure they all go the same way!
I like mine to have the edges (rather than the fold) go into the needle first.
Measure out ~80" of your 1/4" elastic.

Attach a safety pin to one end of your elastic and close the pin.

This is where the direction your corner seams go will make a difference.
As I said I had the loose part of the corner seam going toward the needle as I was pressing the casing and then sewing the casing.
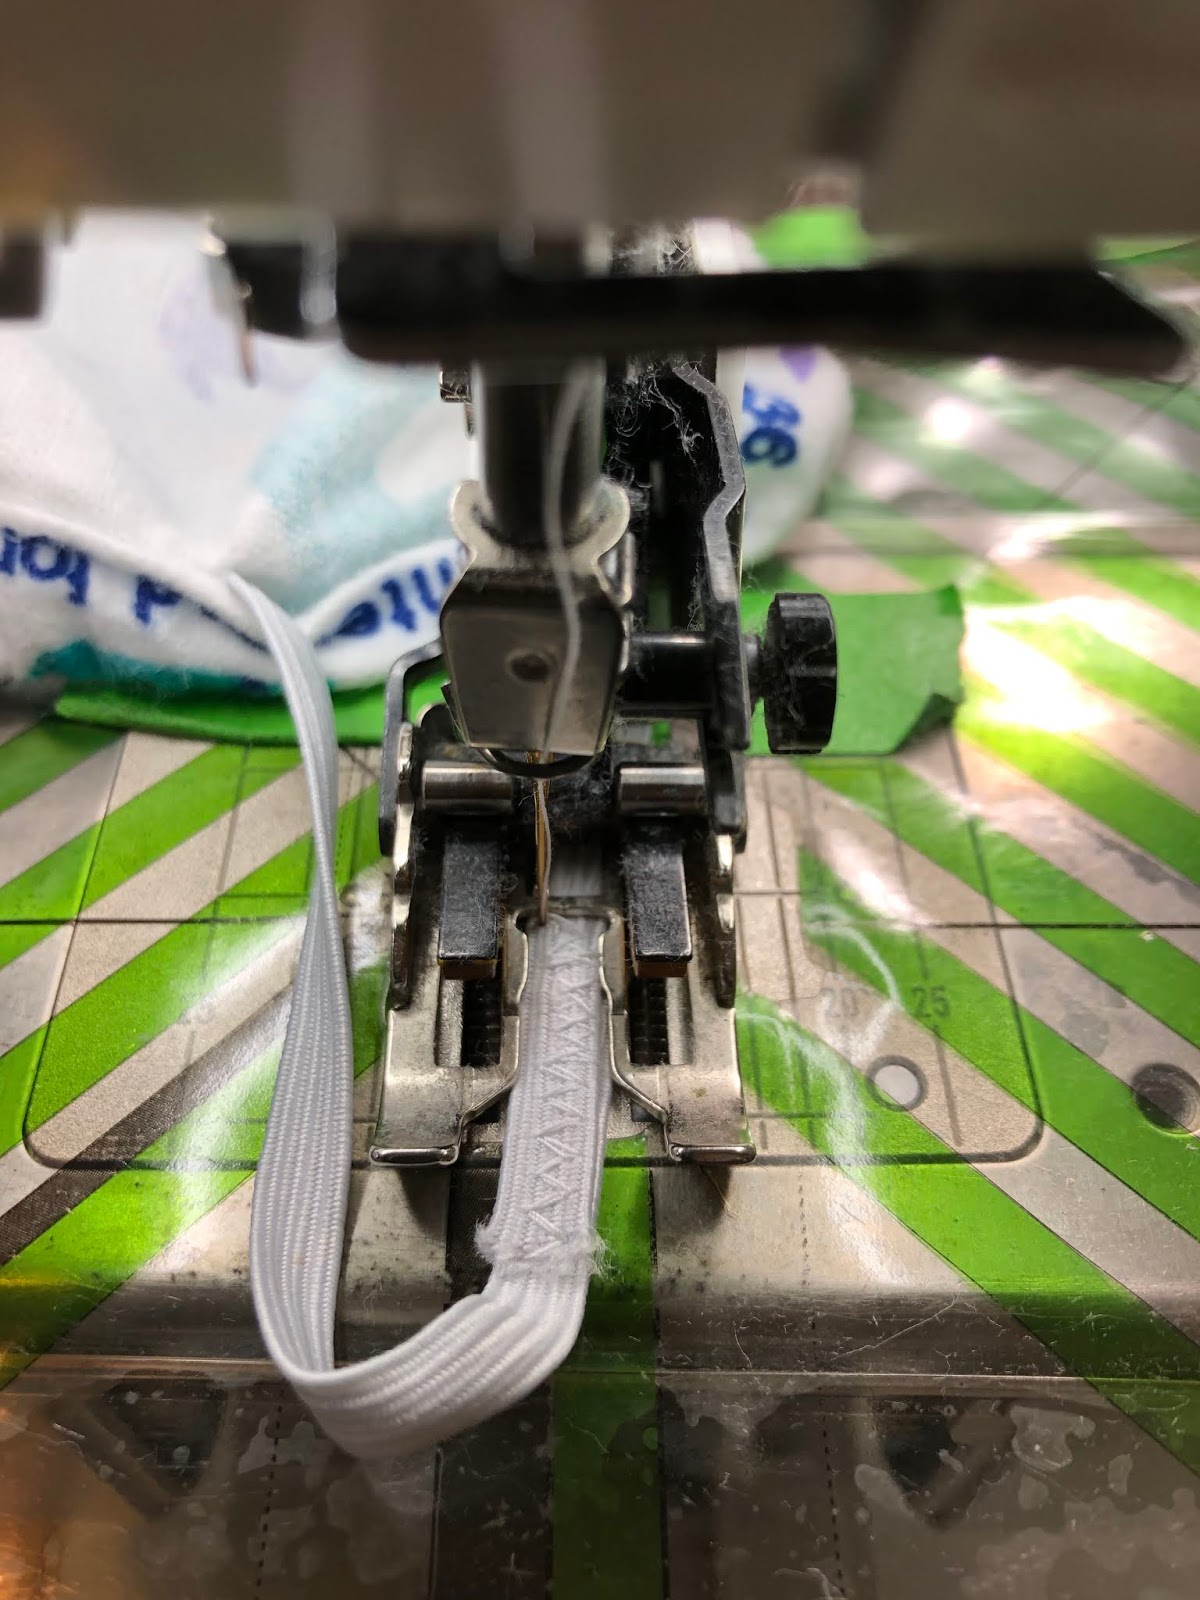
I am right handed so I find inserting the elastic as shown in the photo and
moving the pin to my left works the best for me.
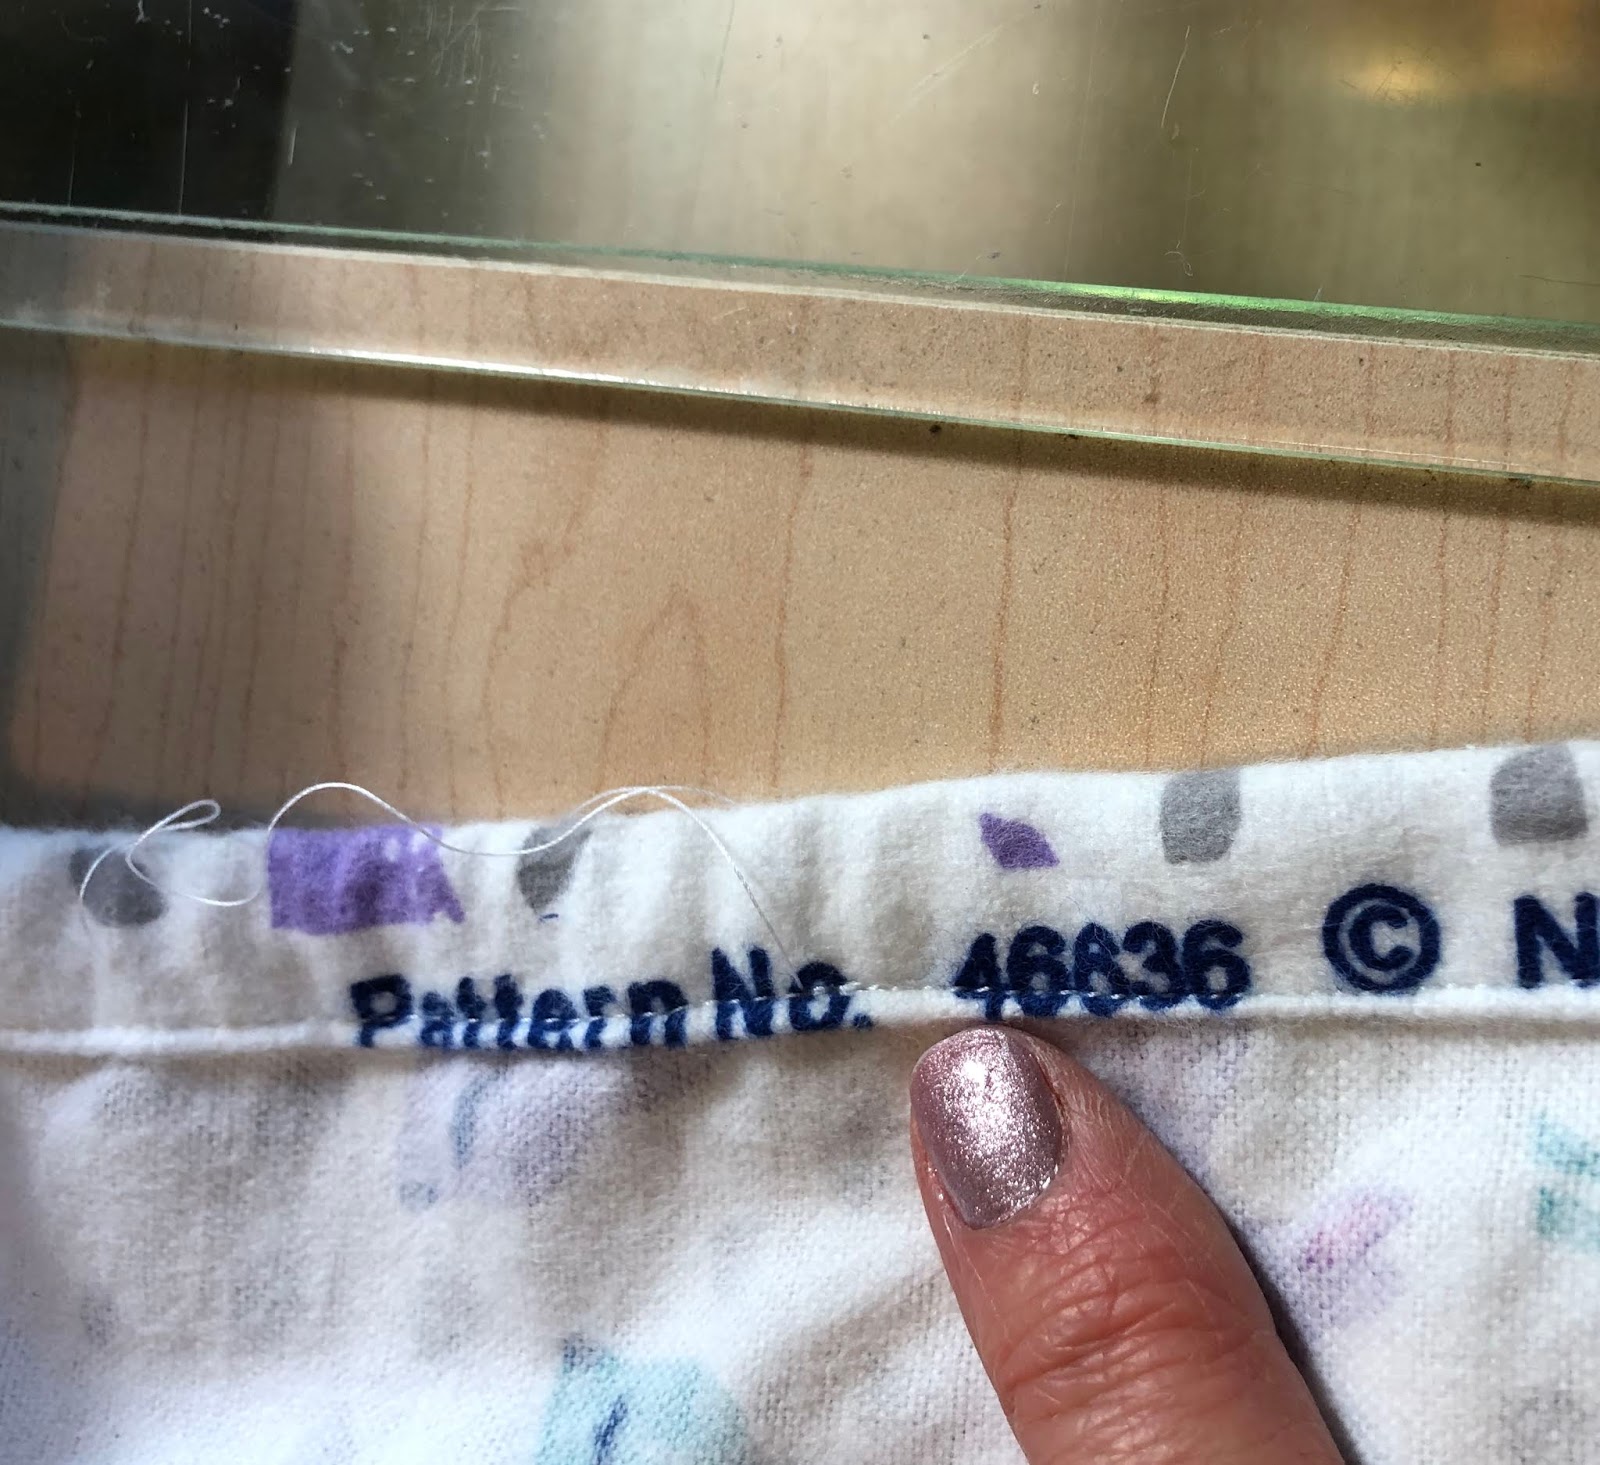
As you can see in the photo below (by my finger) the pin will pass over the corner seam.
If I had pressed it the other way the pin would head directly into the seam and get stuck!
You *can* work it through but it is much tougher on your hands to do that.
So, if you set it up this way you won't have to worry about it!
If you thread your elastic the other direction then you would do the seams the opposite way.
Next you work the elastic all the way around the sheet.
Be sure to pin the elastic tail to the sheet
so as you work the gathers around you don't end up pulling the elastic into your sheet!

The goal is to have the two ends of the elastic meet
so you can sew them together and complete the circle.
You can see I have my tow ends at the opening and ready to sew together.

I sew the two ends together using a zig zag stitch, with about a half inch overlap.
I go over this 3-4 times so the elastic won't come apart in the wash.
Almost finished now!
After sewing the elastic ends together let them slip into the casing and sew the casing shut.
This completes the casing.
Now just redistribute the gathers and guess what?
YOU, my friend, just made your very first crib sheet!!!
TA-DA!!!
You are amazing!
Friends and family will be so impressed.
The flannels you can get for this are so much cuter than the ones you can buy pre-made.

I hope you have enjoyed my tutorial for making a crib sheet.
I tried to make my directions clear.
If you have any questions at all, please email me at mamaspark@gmail.com
I will do my best to answer them.
ENJOY ~XOP~


7 comments:
This is fantastic, thank you for sharing! I love your black kitty supervising your work! I have two just like him/her, and they like to visit my sewing table too :)
looks like fun but you are too late... no babies here! My 16 yo grand daughter doesn't want kids and my 12 yo grandson does but not at the moment ... LOL
ps... Dominic is going to buy a pink or purple house because he knows girls like those colors!! There is a big pink Victorian in town!!
Thank you for this tute. I will find some babies to make these for...so very cute!!!
Your tutorial is so easy to follow, even without pictures. Thank you, glad I ran across your site via Pinterest. Having fun browsing.
I did exactly as you instructed, but when I tried to put the sheet on the mattress the elastic is too tight and it will not stretch enough yo reach the other end of the mattress. Any suggestions?
Marta, since you didn't leave your email address I will write here. 80 " should work for the elastic. If yours is too tight you could unpick a bit of the closed up casing and cut the elastic and insert a bit more then close it back up again. I would measure the circumference of the mattress to get a good estimate of the length you need. Good luck!
Post a Comment
Your comments make my day so much more special. Please, I invite you to share what you think. ~Happy Stitching~