Pages
- Home
- Mama Spark's Free Patterns
- Finished Quilts and Projects 2019
- Traveling Quilts 2018-2019
- Finished Quilts and Projects 2018
- Finished Quilts and Projects 2017
- Finished Quilts and Projects 2016
- Finished Quilts and Projects 2015
- Finished Quilts 2014
- Finished Quilts 2013
- Bee Blocks
- Quilt-A-Longs (QAL)
- Mama Spark's Tutorials
- Finished Quilts
- Publications
- Favorite Tutorials
- Ocean Waves QAL
- Embroidery
- Finished Quilts and Projects 2020
- Finished Quilts And Projects 2021
Wednesday, April 09, 2014
Tuesday, April 08, 2014
Two Color Binding Tutorial
My friends on IG have asked me to show them how I did a two color binding.
I Googled it and there are several good tutorials out there on the web.
I will list a few here:
They are all good ones.
Here is what my binding turned out like.
I will run through how I did this and
if you want to see it another way please visit the other tutorials I listed above!
This idea is not original to me and I learned from the Quiltin Queen.
I will show you how I did it and
this will make it easier for me to find it if I want to do it again in the future too!
I am going to assume you already know how to make regular double fold binding
so no need to go into all that.
Choose your fabrics for your binding. I used the blue for the front and yellow for the back.
Cut your binding strips for the back side 1 7/8".
Cut enough of them to go all the way around your quilt and join them as you usually do.
Cut your binding strips for the front 1" wide.
Cut enough of them to go all the way around your quilt and join them as you usually do.
Once you have all your strips joined to form one really long strip of each color then you need to sew those strips together like this.
I trimmed the end off of the place where I would begin.
I pressed to the dark side of the binding.
My binding width was 2 3/8" at this point when I measured it.
Just as you would for regular double fold binding you will
press your strip wrong sides together to form your double fold binding.
Place the binding as you usually do with the raw edges of the binding to the raw edges of the quilt.
Make sure that the front color (in my case the navy) is right sides to the front of the quilt.
What you will see when you do this is just the back side of the binding.
I was skeptical that this was going to work but it does.
Attach the binding using 1/4" seam and using your walking foot.
After it is attached you can see when I push it back, as if to turn it to the back,
the navy really is on the front.
I usually press the binding away from the quilt at this point.
It seems to make things easier when I turn the binding to the back for the hand stitching part.
I was shocked to find that it really did work and
the binding was actually really easy to prepare, attach and turn.
Will I do this for every quilt?
Probably not, but there are rare occasions when this will be the perfect way to bind a quilt.
Like it was for this quilt!
I hope you have enjoyed my tutorial and would love to hear if you give it a try!
~XOP~
Monday, April 07, 2014
I'm Going On A Trip And I'm Taking...
Do you remember that game?
I just booked a flight to go to Raleigh to visit my daughter.
Are there any of my NC peeps that want to meet up??
Looks like I have May 23-24 open for fun!!
Please email me and we can make arrangements.
My email is mamaspark@gmail.com
Shop hop?
Lunch or dinner?
Whatever, I up for some fun somewhere warmer than Michigan!!!
~XOP~
April's Finish Goal
I need to get 2 quilts finished for quilt market.
I designed both of them and RJR is going to have the pattern and kits to make them available soon.
It is a kit of the month in conjuncture with Brenda at Pink Castle Fabrics
using the Cotton Supreme fabric by RJR.
I am very excited to be a part of this amazing adventure!
I worked all weekend on the first quilt top and got all the piecing done!
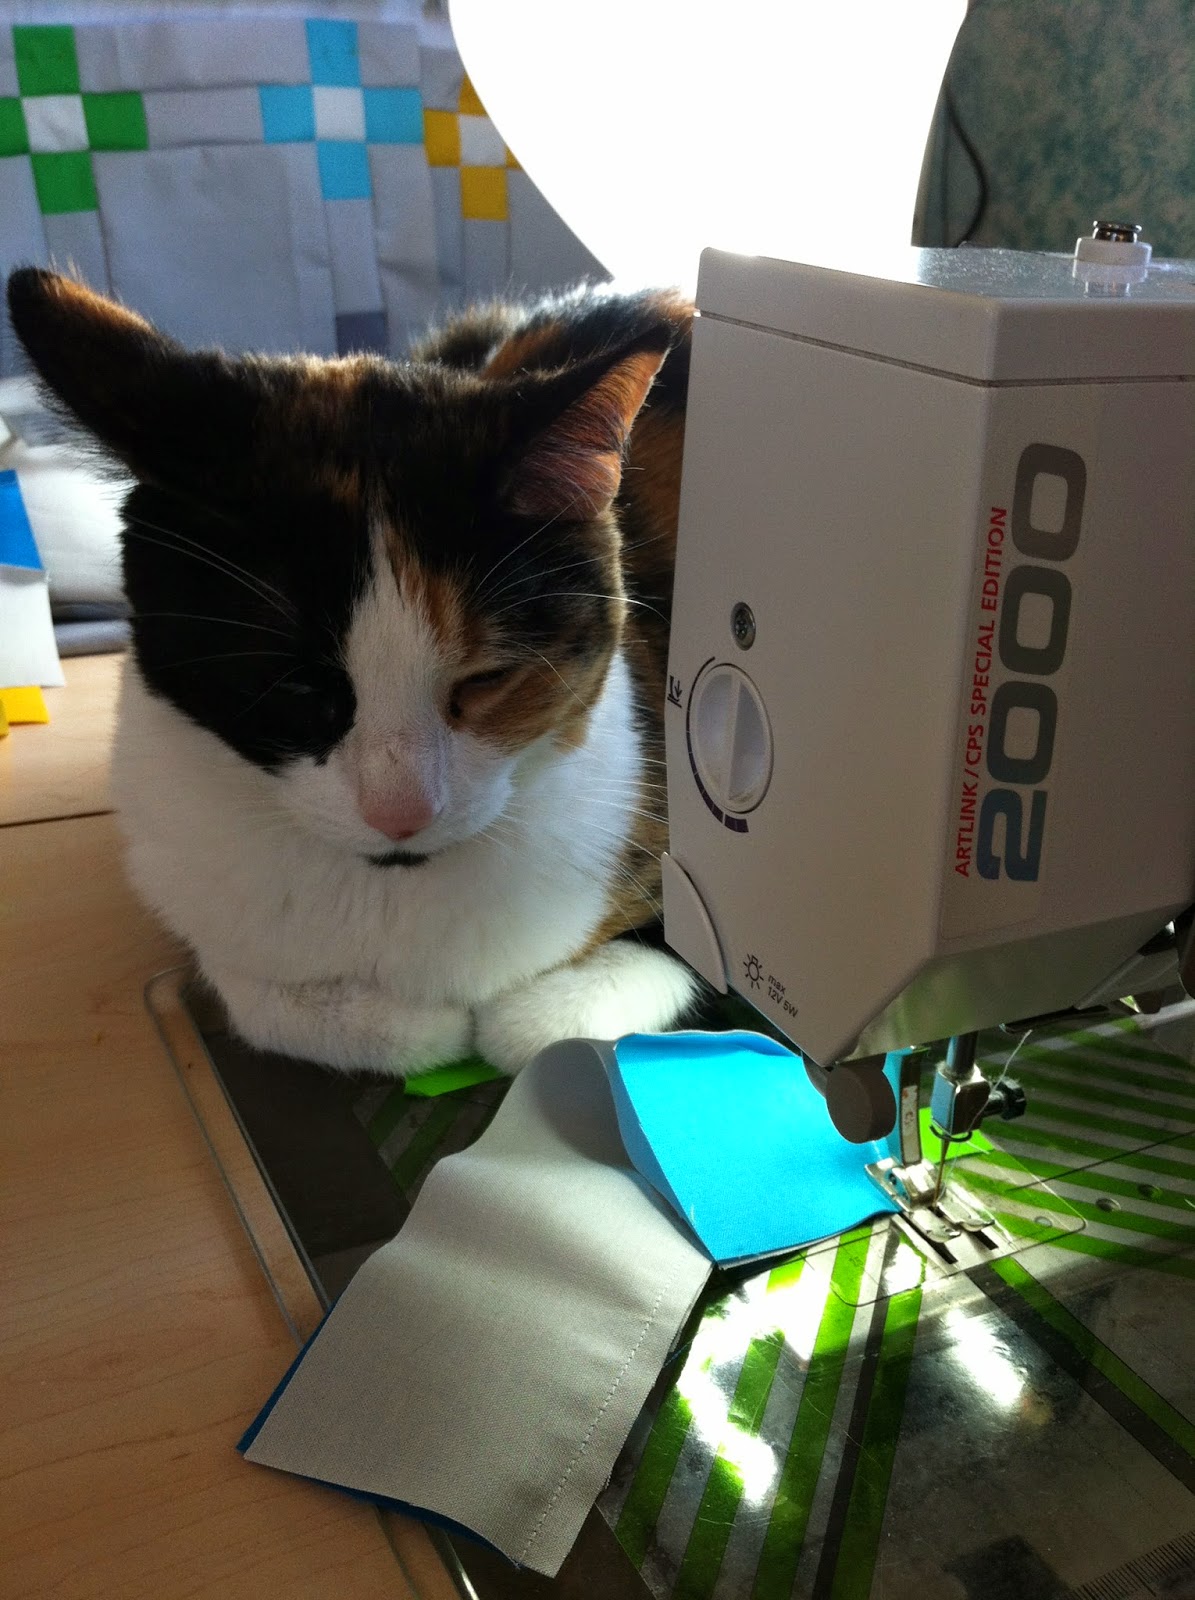
I must confess that I did have some help!
(You can see part of the blocks in the background)
I just need to put on the borders and then get the back made.
My goal is to get it to the quilter by the end of this week so
I can get it back and bound by the end of the month.
That is my goal for the month of April.
I will have another one to make too but since we can list only one it will be this one.
Linking up to ALYOF
I spray starched the fabric before I began cutting and I have to say I will do this again.
It made the cutting and piecing so much easier!!!
Do any of you do this?
~XOP~
Friday, April 04, 2014
Pretty Kitties
I have nothing more quilty to show today but I have some beautiful kitties to share with you!
First up, I was eating a Twizzler the other day when I walked in to my bedroom and
caused quite a stir amongst the three sibs.
EVERYONE wanted in on the Twizzler action!
I just happened to walk downstairs later and saw my beautiful Autumn sitting like she was posing.
She is very photogenic!
Then there is this gorgeous photo of my dad's cat, Aisling.
She has such a beautiful face!
Pardon the messy room, still integrating from my dad's house!
Bath time!!! First Aiden washing Mosen
Then Mosen returning the favor!
I love my cats! Hope you have a GREAT weekend!!
~XOP~
Tuesday, April 01, 2014
Teeny Tiny Paper Piecing
***UNFORTUNATELY, THIS PATTERN IS NO LONGER AVAILABLE***
Jeli Quilts is no longer selling her patterns and since they are not my patterns, I can't share with anyone.
***********************************************************************
Have you ever seen something online and thought, oh my. I need to try to make that.
Well, that was me with this pattern I saw on Instagram.
The pattern was by Jeli Quilts.
I bought it on Craftsy.
I saw that Jeli had shrunk her pattern to 33% and made the cutest pin cushion I had ever seen.
I love the ring of geese anyway.
So with her permission, I too shrunk her pattern and started paper piecing.
Here is one of my quarters. See those blue seeds in there??
Pretty small huh?
This shows all 4 quarters finished.
All sewn together.
Choosing the back of the pin cushion.
I sewed an inch of white all the way around this.
Next step was to spray baste the "top" to the batting and quilt it. I went with straight line quilting
Now for the quilting.
You can see I have not trimmed it yet.
I have since trimmed it to just over 4.5" square and have sewn the back to this.
Now to stuff it, using crushed walnut shells and sew the opening closed.
Then it will be ready for our guild exchange!
Here we go.
It's all stuffed and the opening sewn shut!
I hope it's new owner will love it as much as I do!!
I learned that I loved to do teeny, tiny paper piecing.
I really enjoyed making this and will make more in the future.
I was a little imtimidated but it really was easy and I really did enjoy the process!
If you purchase the pattern, tell Jeli I sent you!!
Linking up to Crazy Mom Quilts Finish it up Friday too.
~XOP~
Monday, March 31, 2014
I Finished My March UFO for A Year of Lovely Finishes
I did manage to finish my March UFO.
It is a quilt that will be gifted so I can't show the whole quilt.
My goal was to get this quilt quilted.
I not only got it quilted but I also got it bound!
Now I am just waiting for the baby to arrive so I can put a label on it!
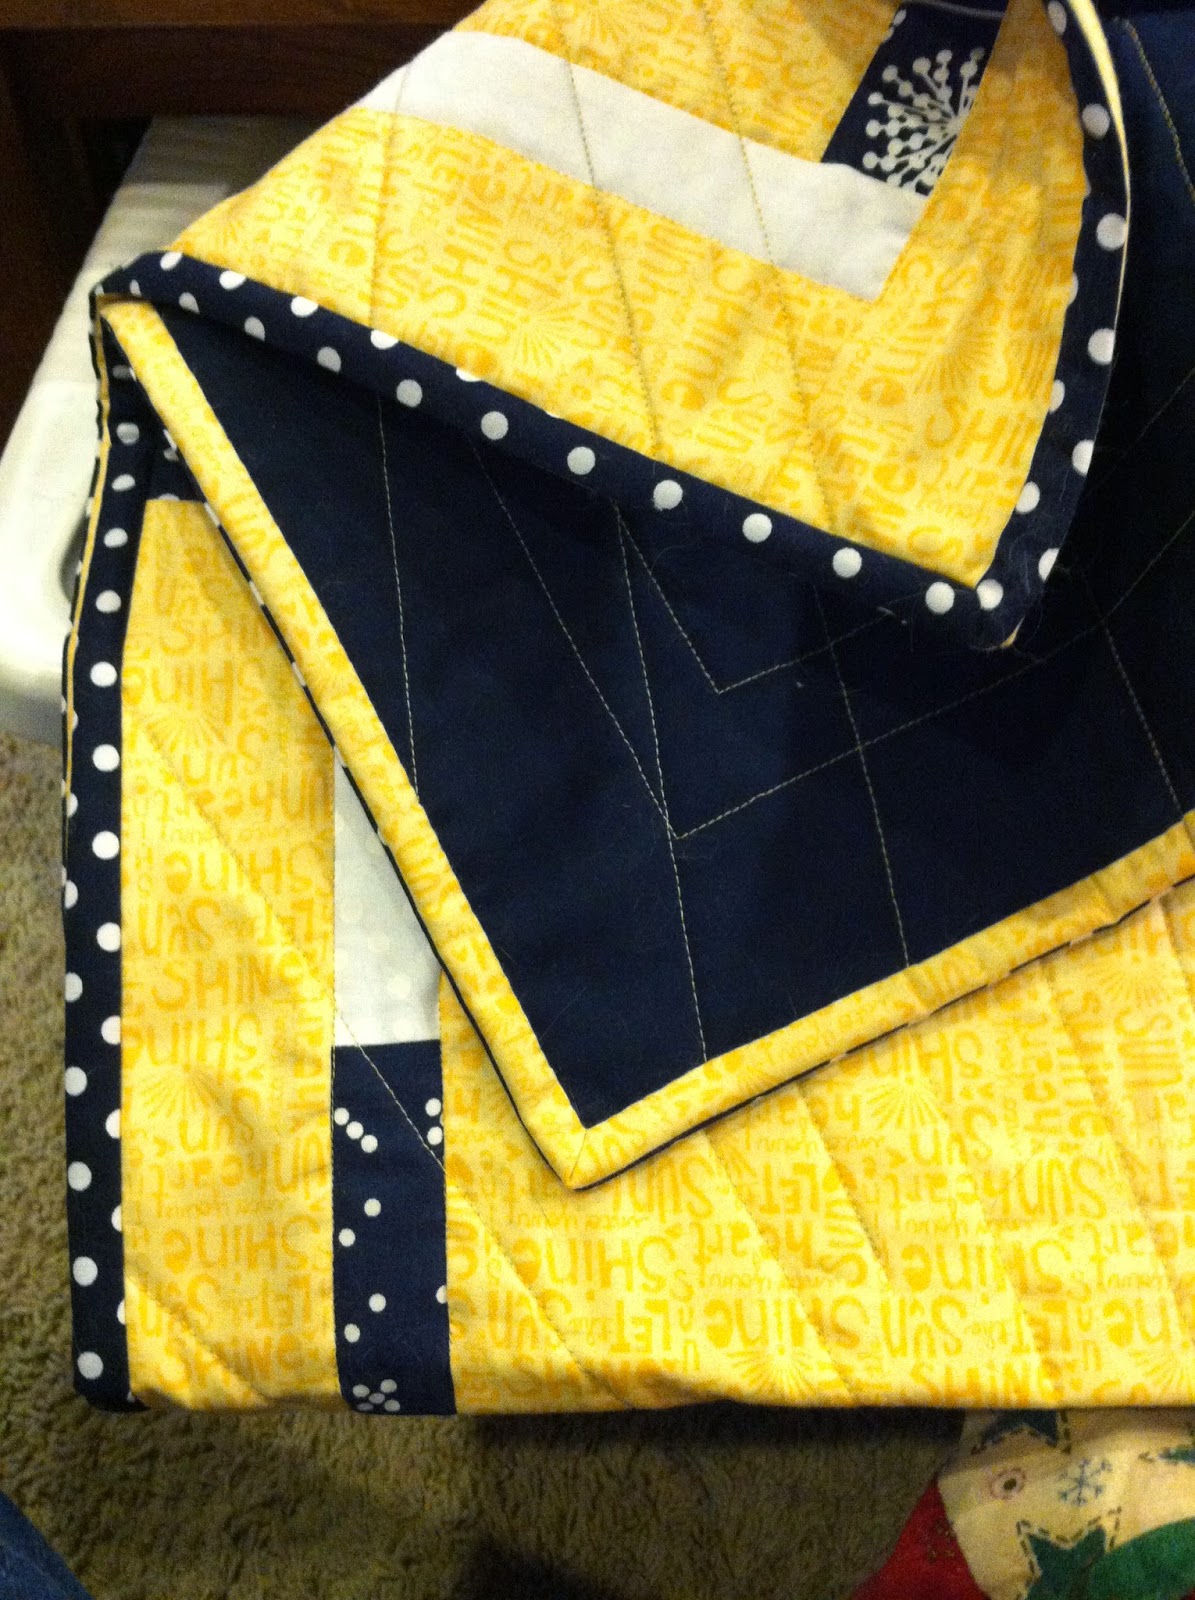
Here is the quilting as seen from the back.
Please disregard the fuzzies all over the back.
As I was quilting it the batting left a lot of fuzzies on the navy backing!
I am very happy with how the quilting came out.
The front is a gold color.
I had a dilema about how to bind it.
I wanted navy on the front but not the back.
I wanted gold on the back but not the front.
Our friend, Connie, had shown us how to make a two sided binding.
My friend Pauline has a tutorial on her blog that you can find it here.
I will probably be writing one too so I can have it here on my blog as well.
My friend Pauline has a tutorial on her blog that you can find it here.
I will probably be writing one too so I can have it here on my blog as well.
I thought it was cool, but never thought I would ever do it.
Until this quilt came along!
I made a two sided binding and I LOVE how it worked on this quilt.
You can see the navy on the front and the gold on the back.
Perfect!
Anyone else want to know how to do this?
I will share a tutorial on how to do this soon!
I am linking up to A Year of Lovely Finishes 2014 since I met my goal!!
What are you working on??
~XOP~
Monday, March 24, 2014
It's A Girl!
My nephew and his wife had their baby yesterday.
A baby girl.
They named her Julieann Elizabeth.
I went over to visit the mom and baby this morning and everyone is doing well!
I can now finally show you Julieann's quilt!
They did not want to know the gender ahead of time so I had to go with generic colors.
I have to say I just love how this came out.
Of course I had my quilting helper, Autumn.
I LOVE the triangle fabric and was so happy to have found the triangle quilting pattern too.
Front and back
Ready to be gifted!
Probably my favorite photo from the shoot!
~ Just love those kitty toes!!~
Welcome to the family Julieann Elizabeth!
~XOP~
Subscribe to:
Posts (Atom)