
First let me say that there are MANY tutorials out there on You Tube
if you are a watch as you make kind of person.
Missouri Star has one that is done the way I make mine. You can find it here.
This will be a quick and dirty how I make them.
Shannon Fabrics has a free pattern (here) for the regular blanket and some smaller "Lovies".
The lovies use an unfinished edge to complete and are so fast.
All this being said here is what I do.
Please let me know if you have any questions via email or in the comments, but make sure you leave a way for me to answer you.
There have been many "no-reply" blogger comments and I have no way to respond to you if you don't leave me your email address.
For the self binding blankets:
You will need 2 pieces of fabric with a 10" difference.
This is important to note.
Most commonly I see 40" and 30" but
if you only have a yard of one you can still do it with 36" and 26".
These pieces need to be squares.
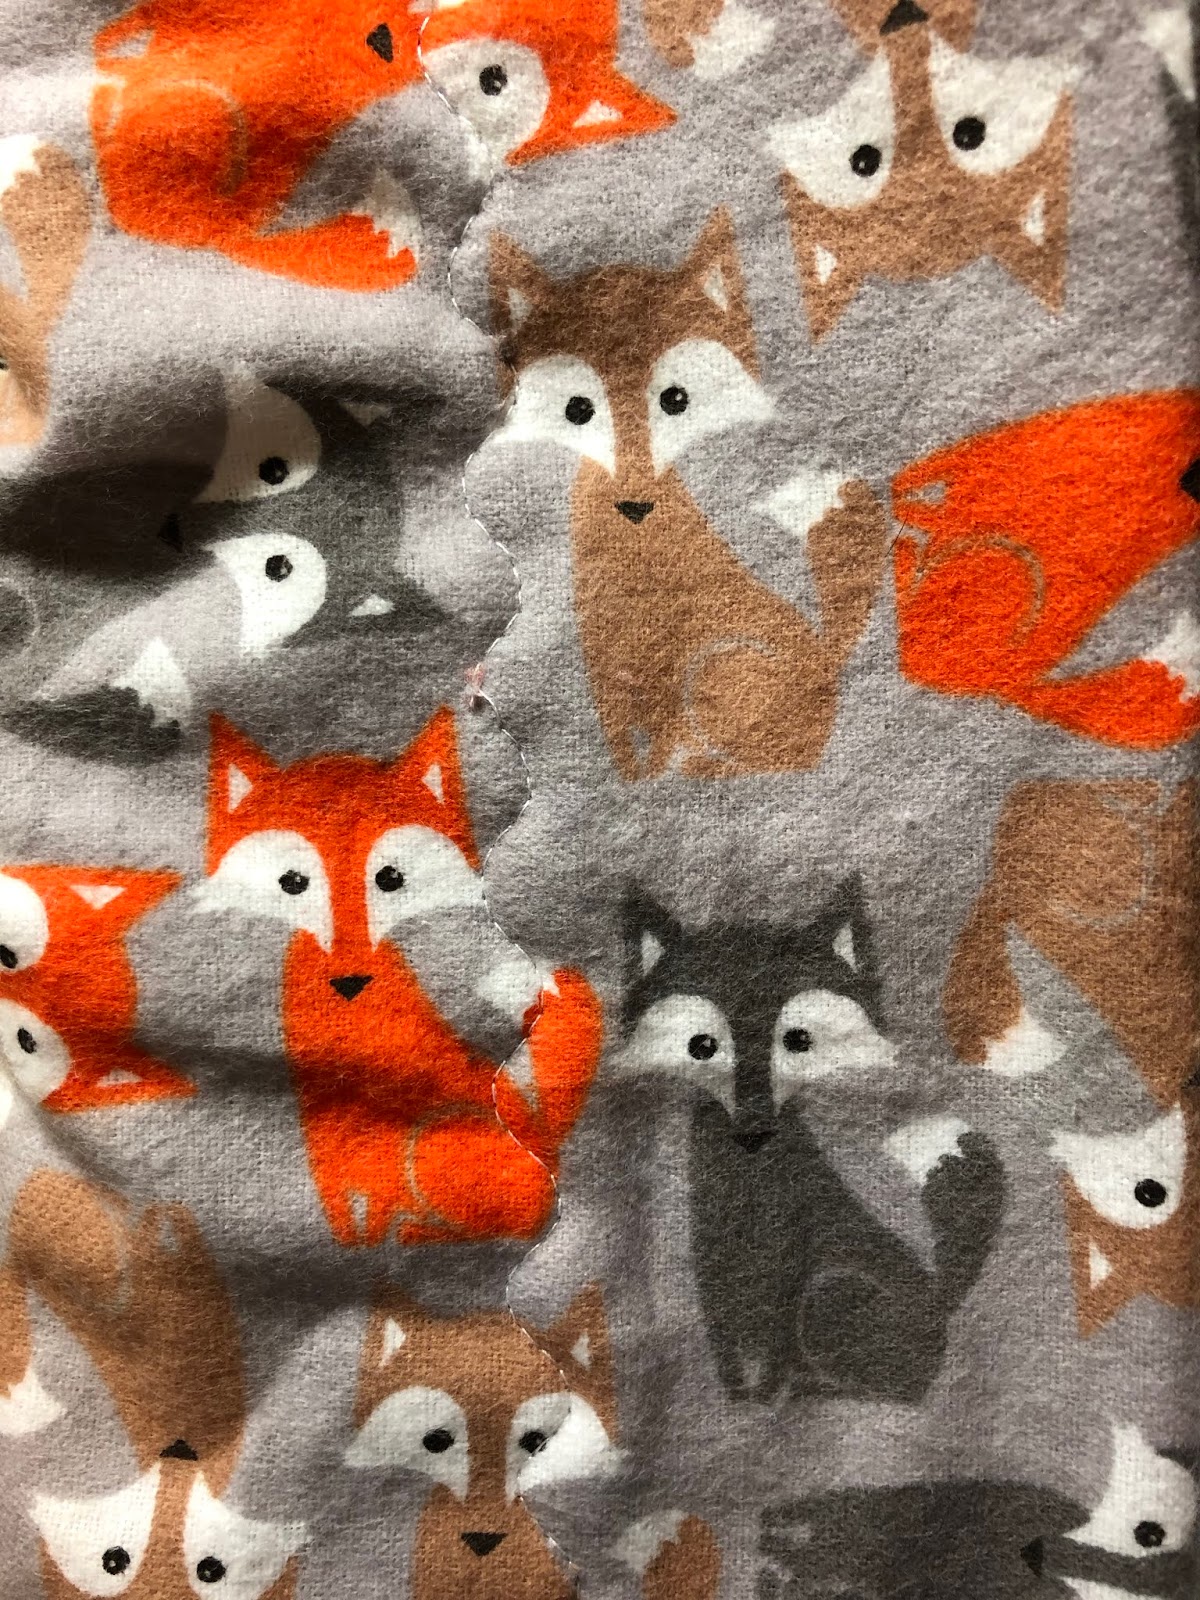
I have made all flannel, and flannel on the outside with Minky (or a plush of your choice)
on the inside or the you can do it the other way around too.
I find using the plush on the inside is easier, but you do you!
Surprisingly I have found making the fabric squares to be the most difficult part (or almost).
Once you have both squares cut you will need to mark the centers on all four sides of both pieces.
I used a pin.
Place the pieces right sides together and beginning on one side pin from the center
to the edge of the smaller piece.
You will also need to mark 1/4" at each corner on the wrong side of the smaller piece.
I used a marker and made a dot that I could see.
Don't worry as you pin, the top and bottom pieces will NOT line up.
This is so you can make the corners as you will see.
You can see these steps below.

Continue to pin like this all the way around the blanket.
You will be sewing soon and need to have an open edge so you can turn the blanket so make sure to leave a hand sized opening when you pin along one edge.

You can see the dot in this photo.
I begin sewing near the area I want to leave for the hand opening and sew toward the dot.
You will use a 1/4" seam allowance.
Finish sewing at the dot. This is important!
You will start sewing from then on at the dot too.
Don't worry if your corner "tails" don't match up well.
I'll show you why in a minute.

Once you have sewn all the way around (except for the hand opening, don't forget!),
you are ready to deal with the tails.
You can see in the photo below that I have folded my outer edges
(with the center fabric inside) together.
This brings the corners together.
As you can see below, my tails didn't line up very well.
It doesn't matter.
I can't even tell you how I stressed over this on the first one I made.
No stress you guys!

Once you have your outer edges folded in toward each other
you are going to use your ruler to draw a sewing line.
You can see that I lined up the straight line of my ruler along the fold I just created.
I put my pen right on the place I started and ended my stitching
(where the dot would be if we had put it on the outside, which we did not).
Once you have your pen there just draw a straight line.
You can pin if you like .
Once your line is drawn it becomes your sewing line.
Do this on all 4 corners.

Put your needle down right where your stitching ends and you put your pen for your line to begin.

Sew straight down the line. You will repeat this for all 4 of your corners.

PHEW! You are so close to being finished! Look at you go!
Next is the trimming.
Using scissors, trim approximately 1/2" from your sewn line.
If you are concerned that you may have sewn it incorrectly you can put your hand into the opening you left and pull out one corner to check it.
Simply push it back to how it was originally and trim if all is well.
If not, pick the stitching out and try again.
Hopefully it is right though!

I trim off another little bit where you can see in the photo below to help make the turned point crisp.
Just be careful not to cut into your stitching!

Here comes the moment of truth.
You are going to get to birth your blanket now!!!
Stick your hand inside the opening you left
(hopefully you remembered not to sew it shut!)
and pull your blanket to the right side.

It will need a good pressing at this point.
You may have to work your way around and make sure to get all your corners pointed out and your edges lined up, but once you do just press.
You can really only press on the flannel part but don't worry the Minky will fall into line!

Now you have that hand opening to deal with. Turn under the flannel and the Minky about a 1/4"

Pin that edge together, as you see in this picture.
I start my sewing right before the pinned opening to make sure I catch everything in when I sew.
You will continue to sew around the blanket on the seam line between the inside and outside fabrics.

You can use any stitch you like.
Sometimes, I begin with a few straight stitches to anchor the stitching and
then proceed with the decorative stitch.
If you happen to like the one I used I took a picture of the setting on my Bernina.
It is stitch number 4, elongated.
Try out some stitches on some practice fabric to make sure you like what you chose.
Some people zig zag, I happen to love this stitch.

My stitch looks like this on the front,

and this on the back.
When I get back to where my stitch meets up I switch to a straight stitch and
stitch about half an inch in the ditch.
That's it. You're done and you have completed your first self binding blanket!
I hope this tutorial is clear.
If you have questions please email me at mamaspark@gmail.com and
I will try my best to help you.
Here are a few pics of some of mine.


If you make a self binding blanket from my tutorial I would love a link back to me here.
I would also love to see your finished blankets!
Have a lovely day and happy stitching!
~XOP~


3 comments:
I can't wait to start one!!
Excellent! Thanks so much. I have some larger pieces of flannel that I can practice with...maybe make a few for A Doll Like Me!
I always turn mine inside out before cutting the tails because I've cut in the wrong direction too many times! End up with a box rather than the mitre. Miter? Mitre?
Post a Comment
Your comments make my day so much more special. Please, I invite you to share what you think. ~Happy Stitching~