
I finally got around to making a knit sheet and taking photos so I could share with you guys.
I LOVE using the knit fabric to make crib sheets with but they are much wider
than you actually need for the sheet.
You can get good sales at JAF on the knit fabric if you watch and some of it is SO soft!
I use the left overs to make re-usable wipes (the corner cut outs are perfect for this) or one side of a burp cloth (with flannel on the other, just be sure to sew this using a walking foot!)
***WARNING photo heavy***
You will need 2 yards of a soft knit fabric and
80" of 1/4" elastic to make one sheet
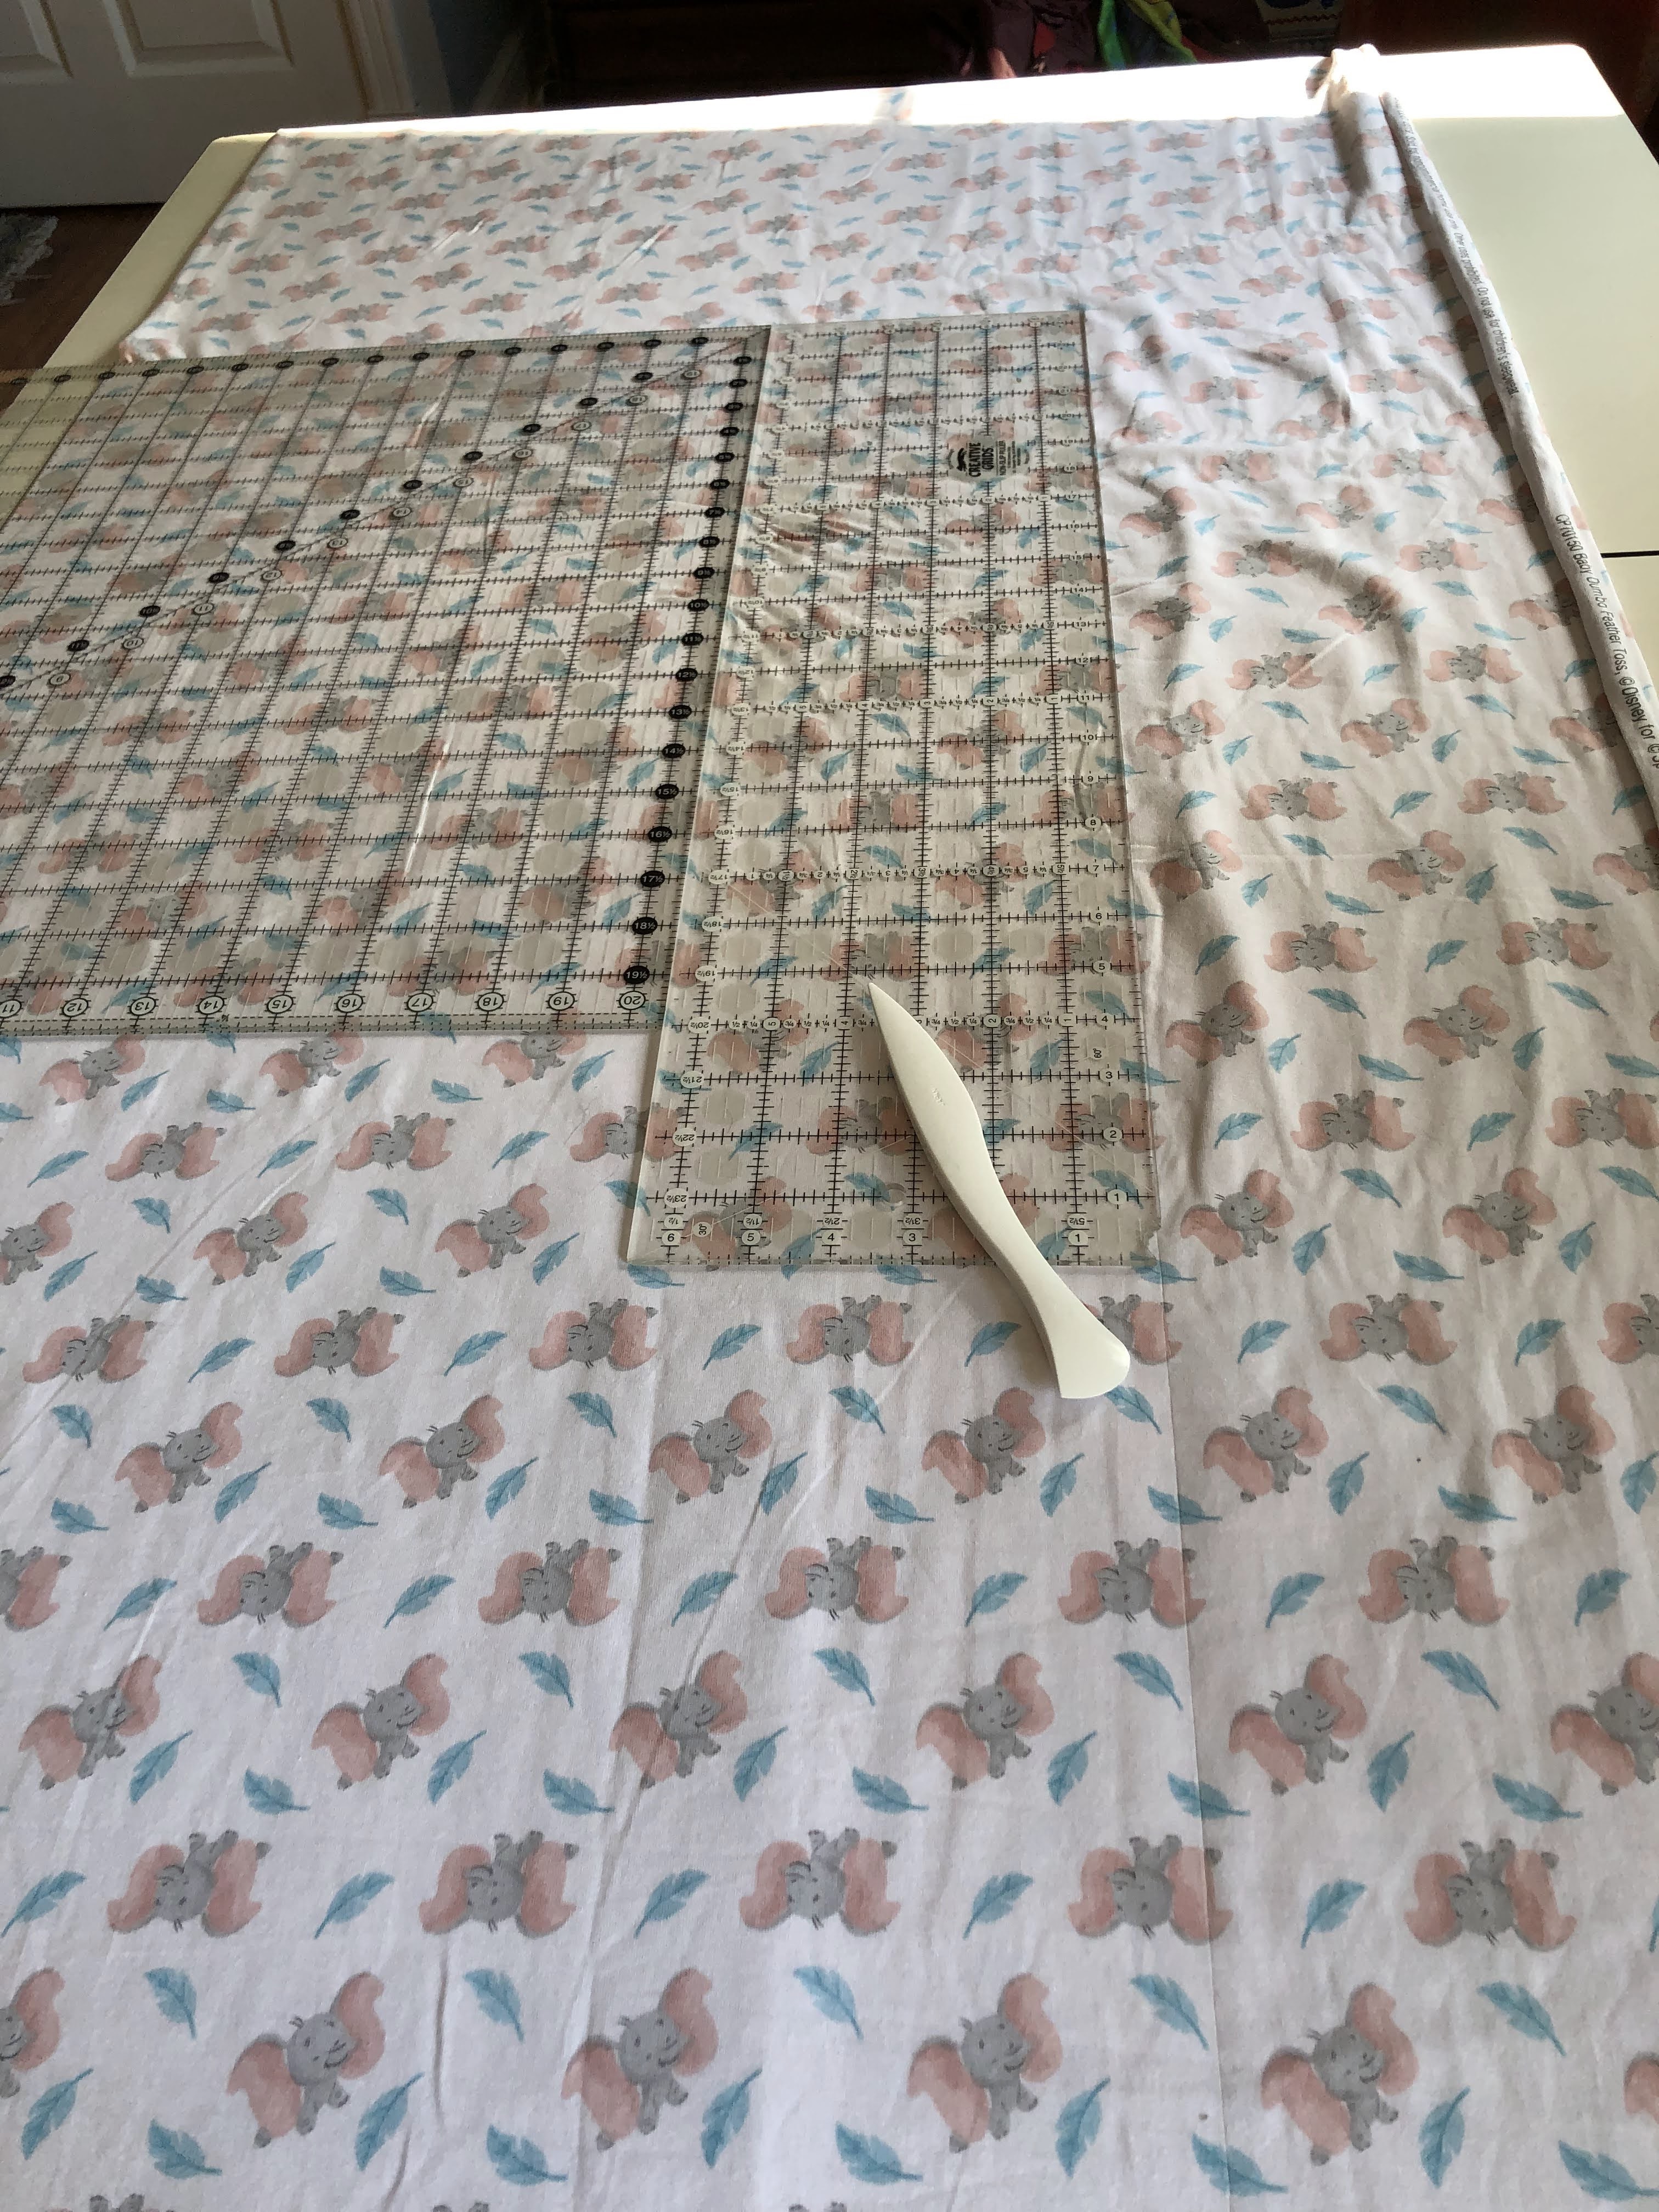
I left the fabric folded as it came off the bolt, fold so my ruler fits and cut off the selvege.
Since it tends to roll and you have plenty of room to work this makes it easier.


Unfold so it is the full length but still folded in half, so your piece should be LONG.
Cut off one end to straighten.
Then, measure down ~68" and put a pin.
This is where you cut off the excess length.
place your ruler along the fold and trim off excess so your sheet measures ~68"
I usually buy 2 yards so I have good room to trim.

Now you will be cutting off the excess width.
I measure 21" from the fold.
I have to use 2 rulers to get this measurement.

I use a Hera marker to mark the 21-22" down the length of the sheet.

The Hera marker leave a nice cutting line.
If you don't have a Hera marker you could use a disappearing marker.
You may want to invest in a Hera marker as they are nice for marking quilting lines too.

I move my rulers and continue to mark the length of the fabric.
I used scissors to cut along the line I marked.


At this point you should have the correct length and width.
Time to cut out the corners.
I do 2 layers at a time.

Using your ruler along the CUT edge, cut out an 8.5" square.
I do 2 corners at a time.
TIP: These pieces can be sewn together to make great re-usable wipes!

Do this for all 4 corners.
As I said I do them 2 at a time.

Sewing time!
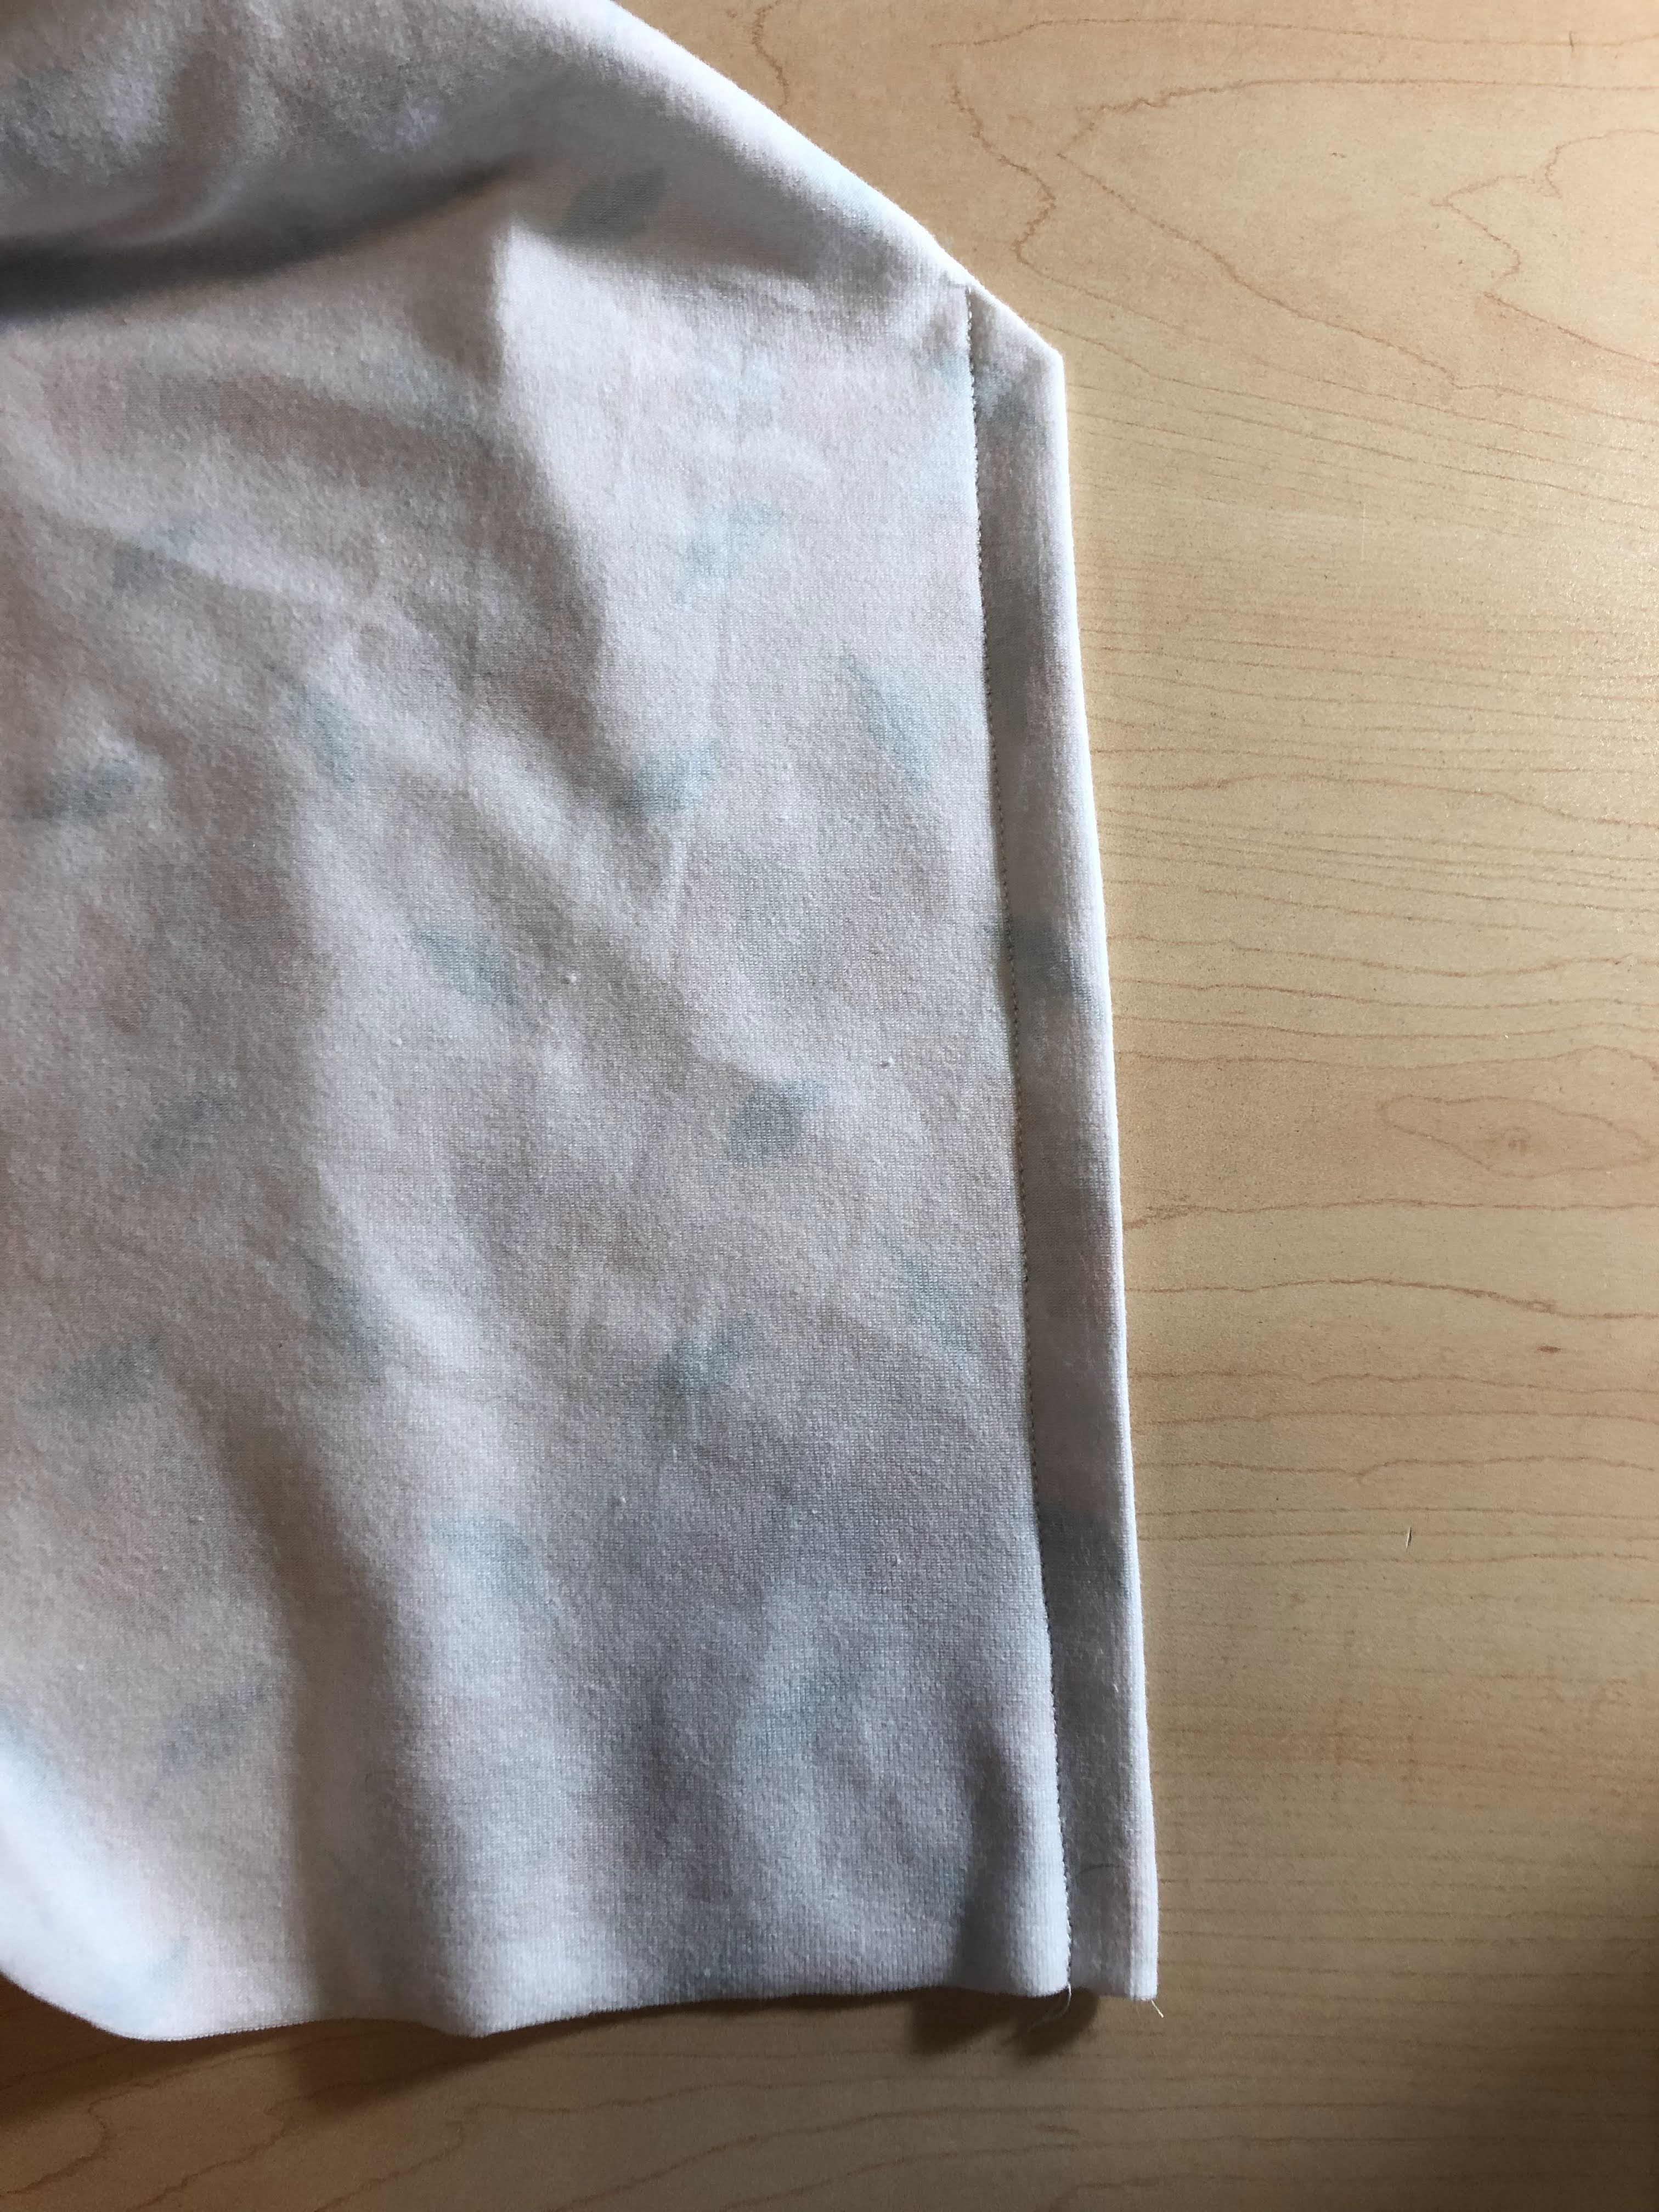
You will be making a French seam for your corners.
Doing 1 corner at a time, fold the short sides from your cut out WRONG SIDES together
and sew a scant 1/4" seam.

This is what it should look like.

I then press it and continue by folding RST.
After you have it folded sew a scant 1/2" seam.
You are enclosing the first seam you sewed so your sheet will have no raw edges!

This is what it should look like.
Before proceeding, check the right side of the sheet where you sewed to be certain you totally enclosed the seam and no raw edges are showing.
If you can see a raw edge you can either try to trim it or go back and just take a little deeper seam.
Now you will be making a casing for your elastic.
Fold over a quarter to half inch.
It is a bit tricky to do small bits with knit, or at least it was for me.
Do this the entire way around your sheet.

When you get to the seams you made in the corners be sure you press them all in the same direction.
I usually thread my elastic going toward the left.
I found it easier to fold my seams so the elastic doesn't catch in the fold.
If I fold the seam in the direction I feed my elastic.
This is worth paying attention to!
Fold the long edge over once again to create a casing.
I usually just make sure it is about half an inch or big enough to encase the first fold.

At this point I switch to my walking foot.
I find pressing the fold is enough and don't pin the entire length.
I pin on both sides of the opening I need to remember to leave for elastic insertion.

You will now edge stitch all the way around the sheet, leaving an opening for elastic insertion!

It should look similar to this.
As I said, I insert the elastic going toward my left.
I pin a safety pin to one end to make the threading easier.

You can see here that I am going OVER the fold with the elastic, rather than trying to not get it caught in the side by my thumb!
Trust me, this will make your life much easier!
Once your elastic is all the way around you will have 2 ends to sew together at the opening you left.
You did remember to leave that opening, right?
Join your 2 ends and sew over them several times to join them securely.
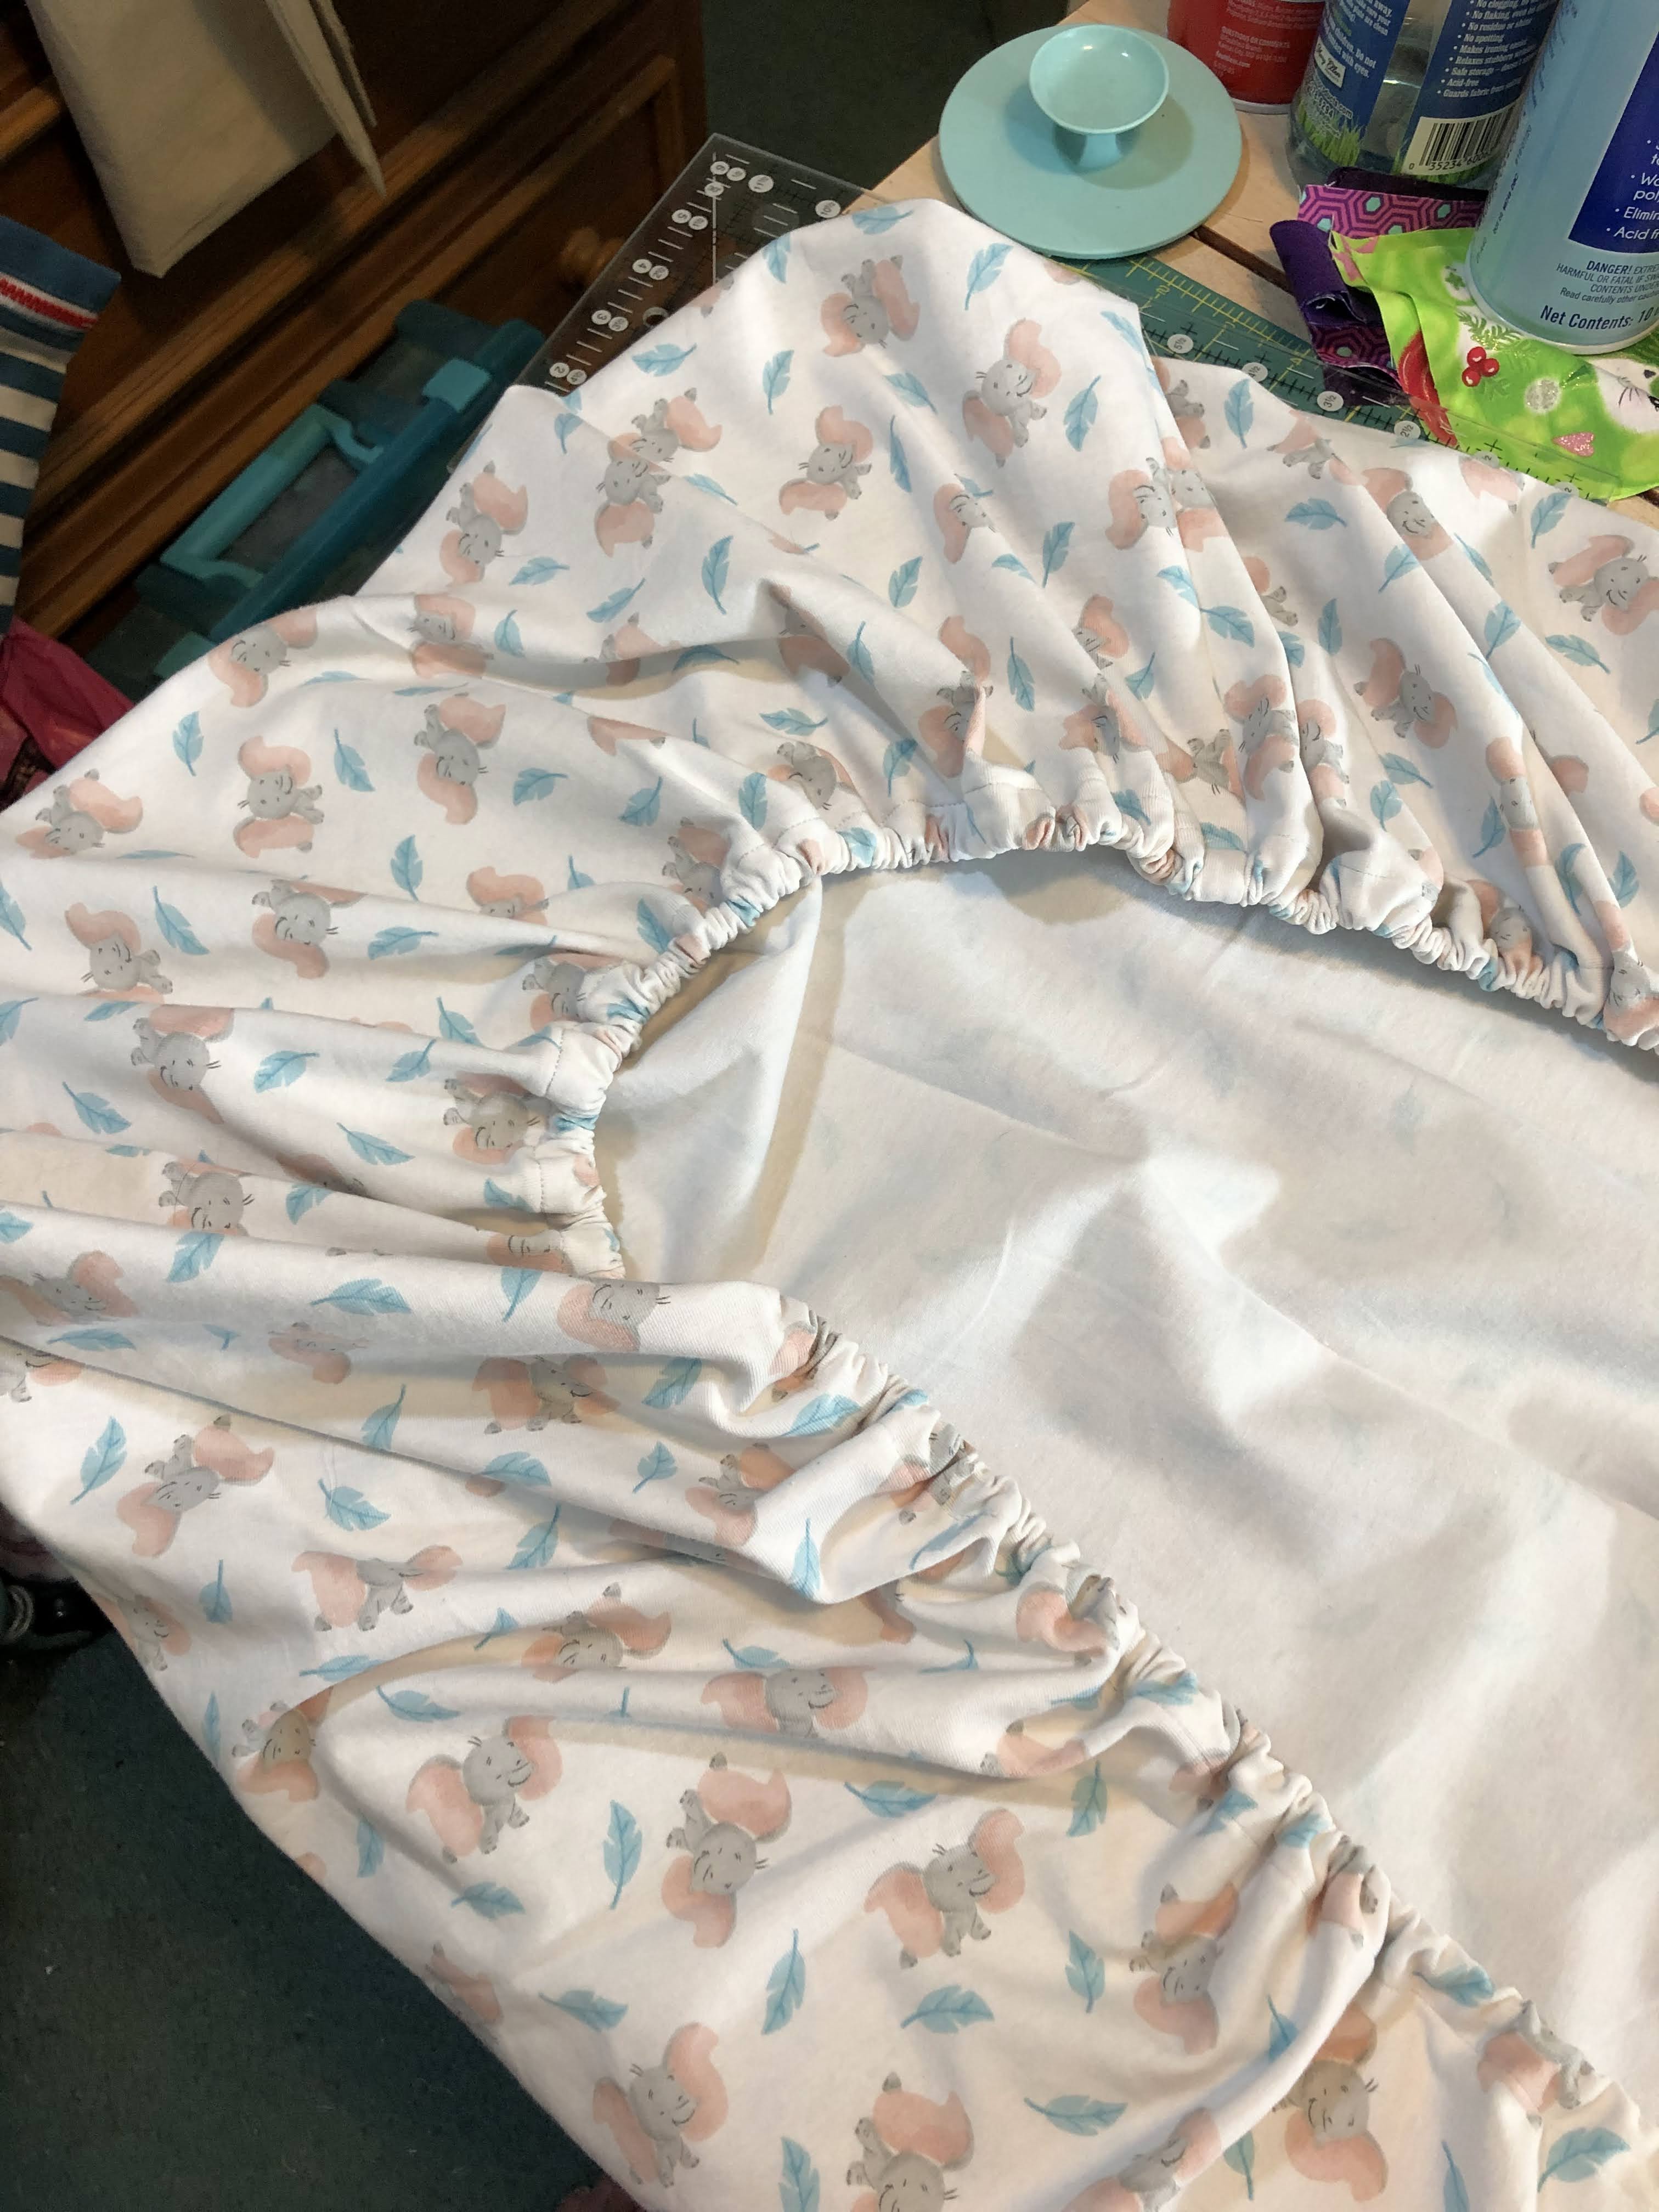
Gently pull your sheet and the elastic should pop into the casing.
Then you can gently stretch the opening straight and sew it closed.
(sorry I forgot to get a photo of that)

You can distribute your elastic evenly around the sheet by gently pulling on it.
Your sheet is now finished and ready for you to enjoy or gift!
I hope you found this helpful.
Please email me if you have any questions.
mamaspark@gmail.com
ENJOY!
~XOP~


1 comments:
How long was your elastic? Great tute!
Post a Comment
Your comments make my day so much more special. Please, I invite you to share what you think. ~Happy Stitching~